
Merry Christmas - Scrapbook.com

 Hello crafty friends! Today, I have a super simple yet beautiful Christmas card to share, featuring products from Scrapbook.com. In case you prefer to watch a short video on this card, here is the YouTube link. I would also love it you like and subscribe ;)


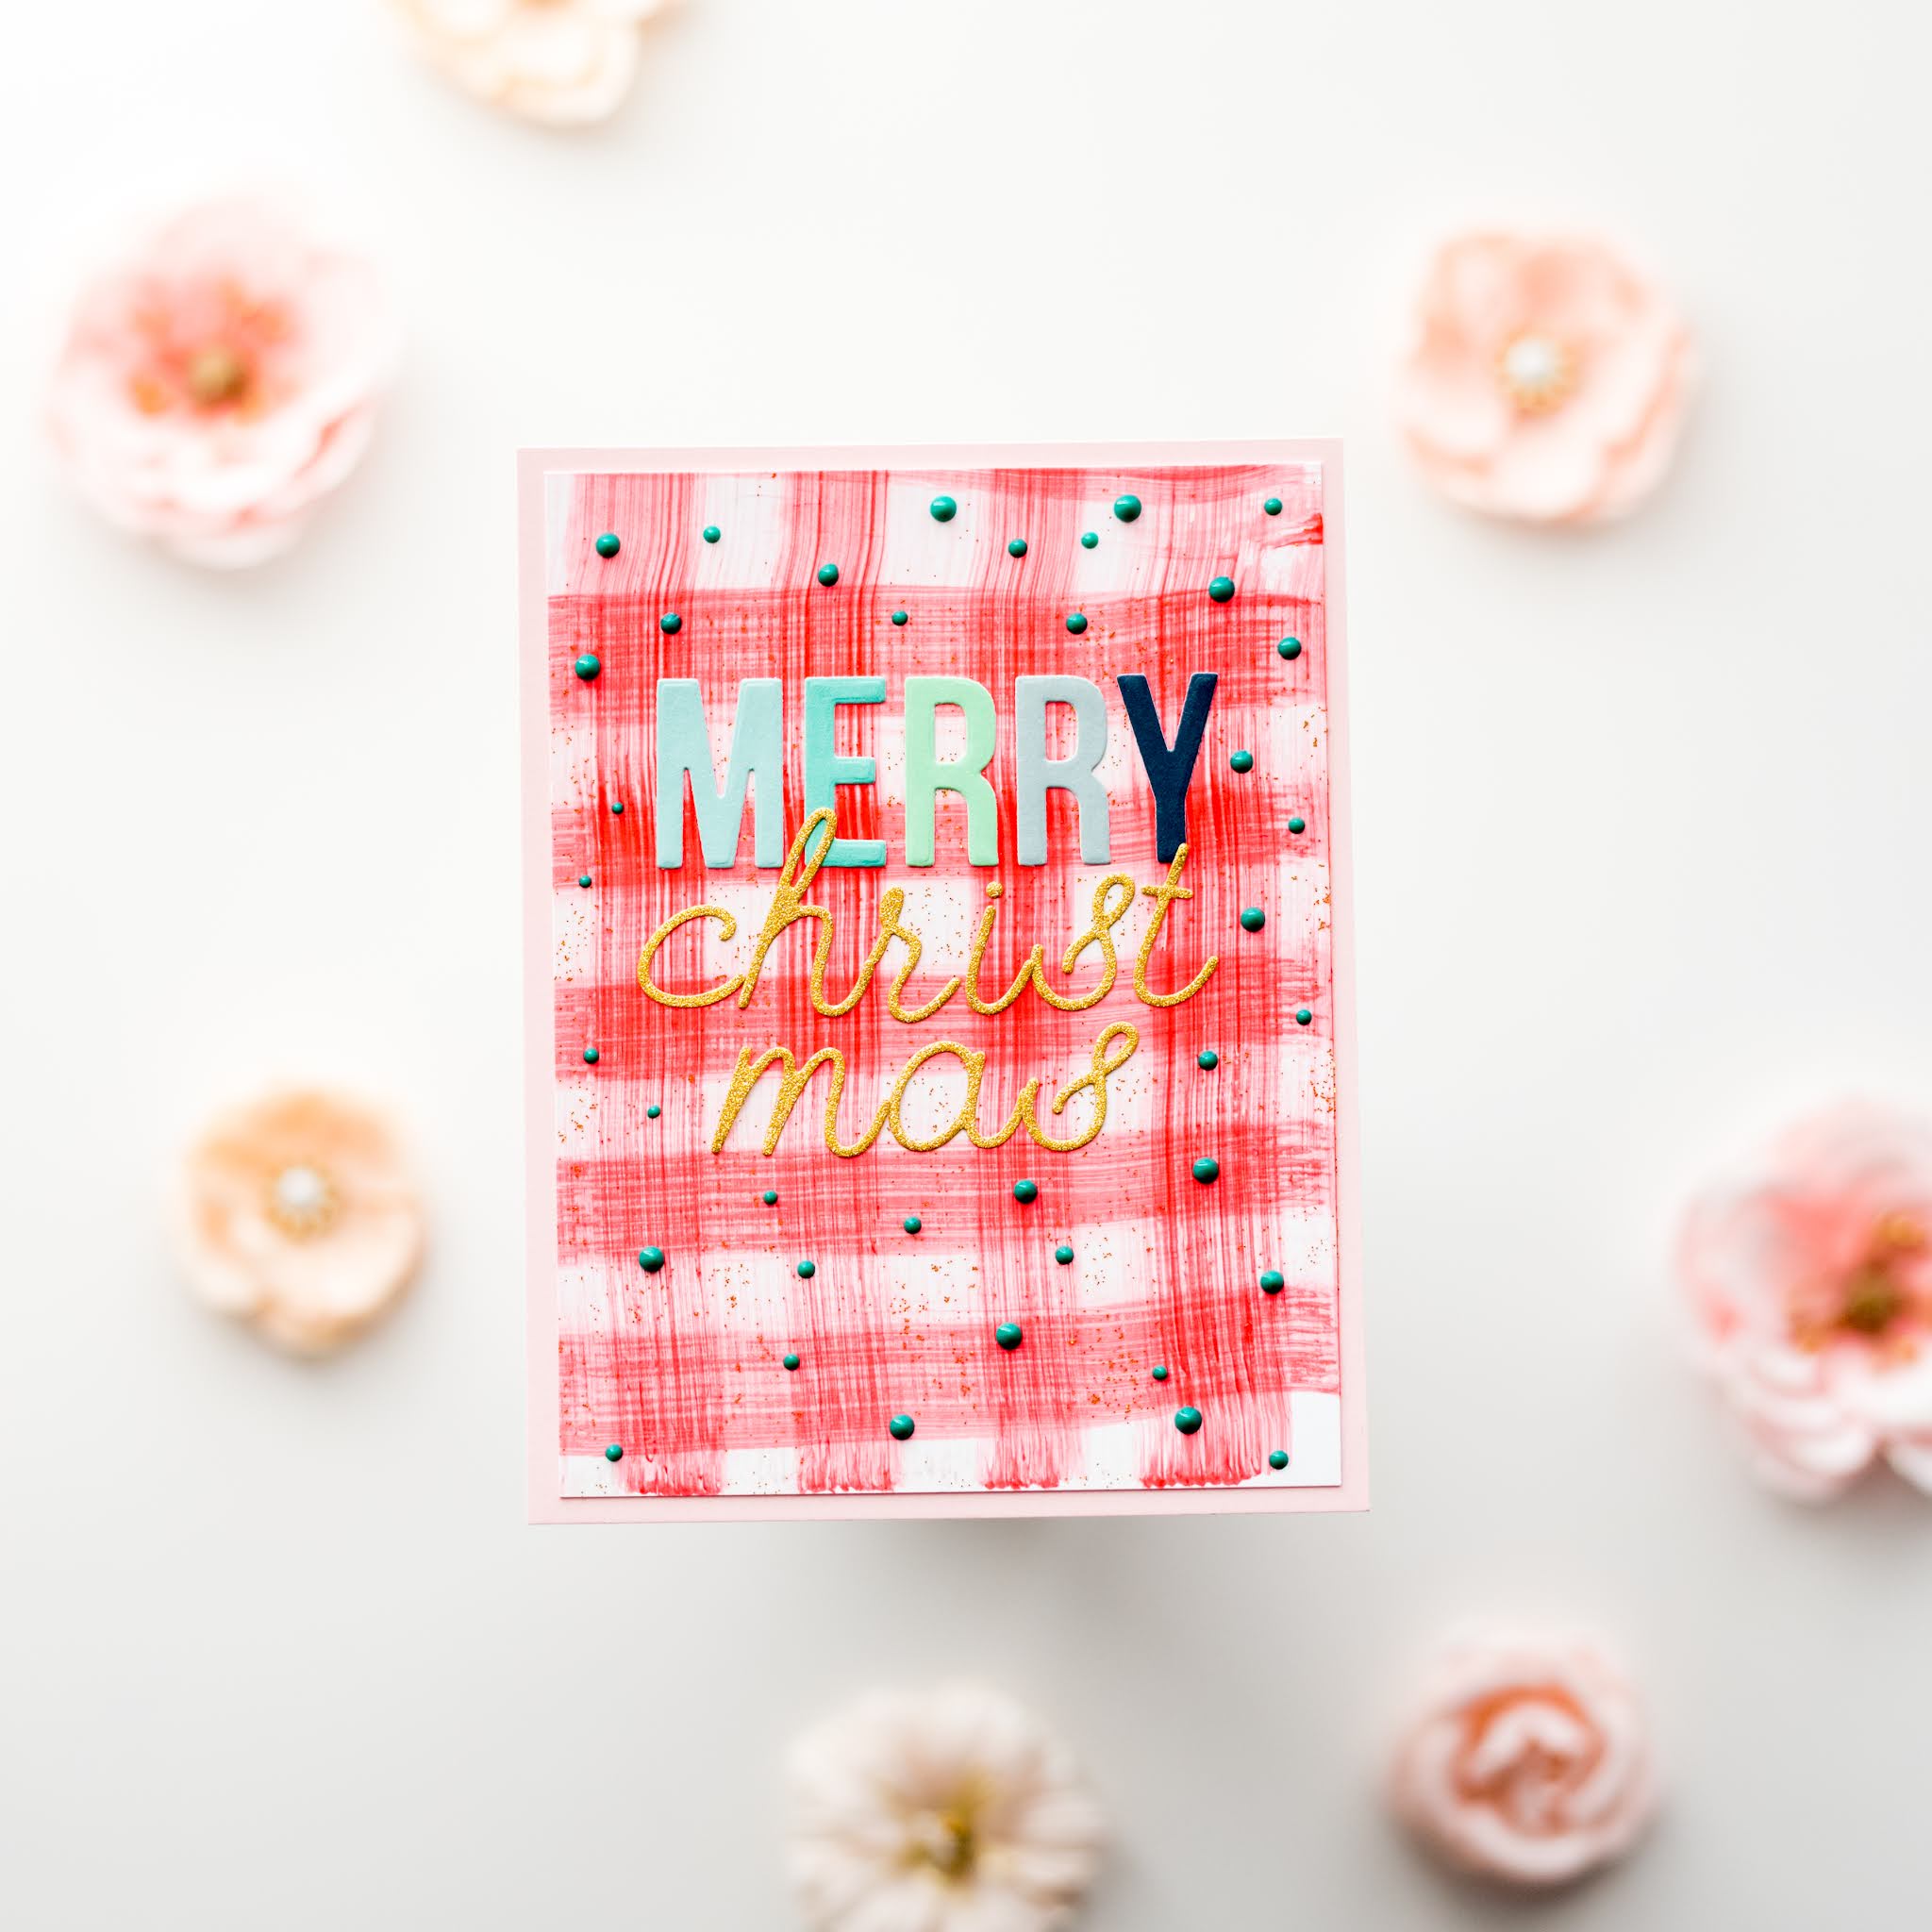
 Using the Wide Blender Tool, I made a gingham pattern on white cardstock using Pops of Color in Rudolph Red and Glitter Gold. I love the way it makes the card panel so shiny and sparkly. I set this aside to dry. 


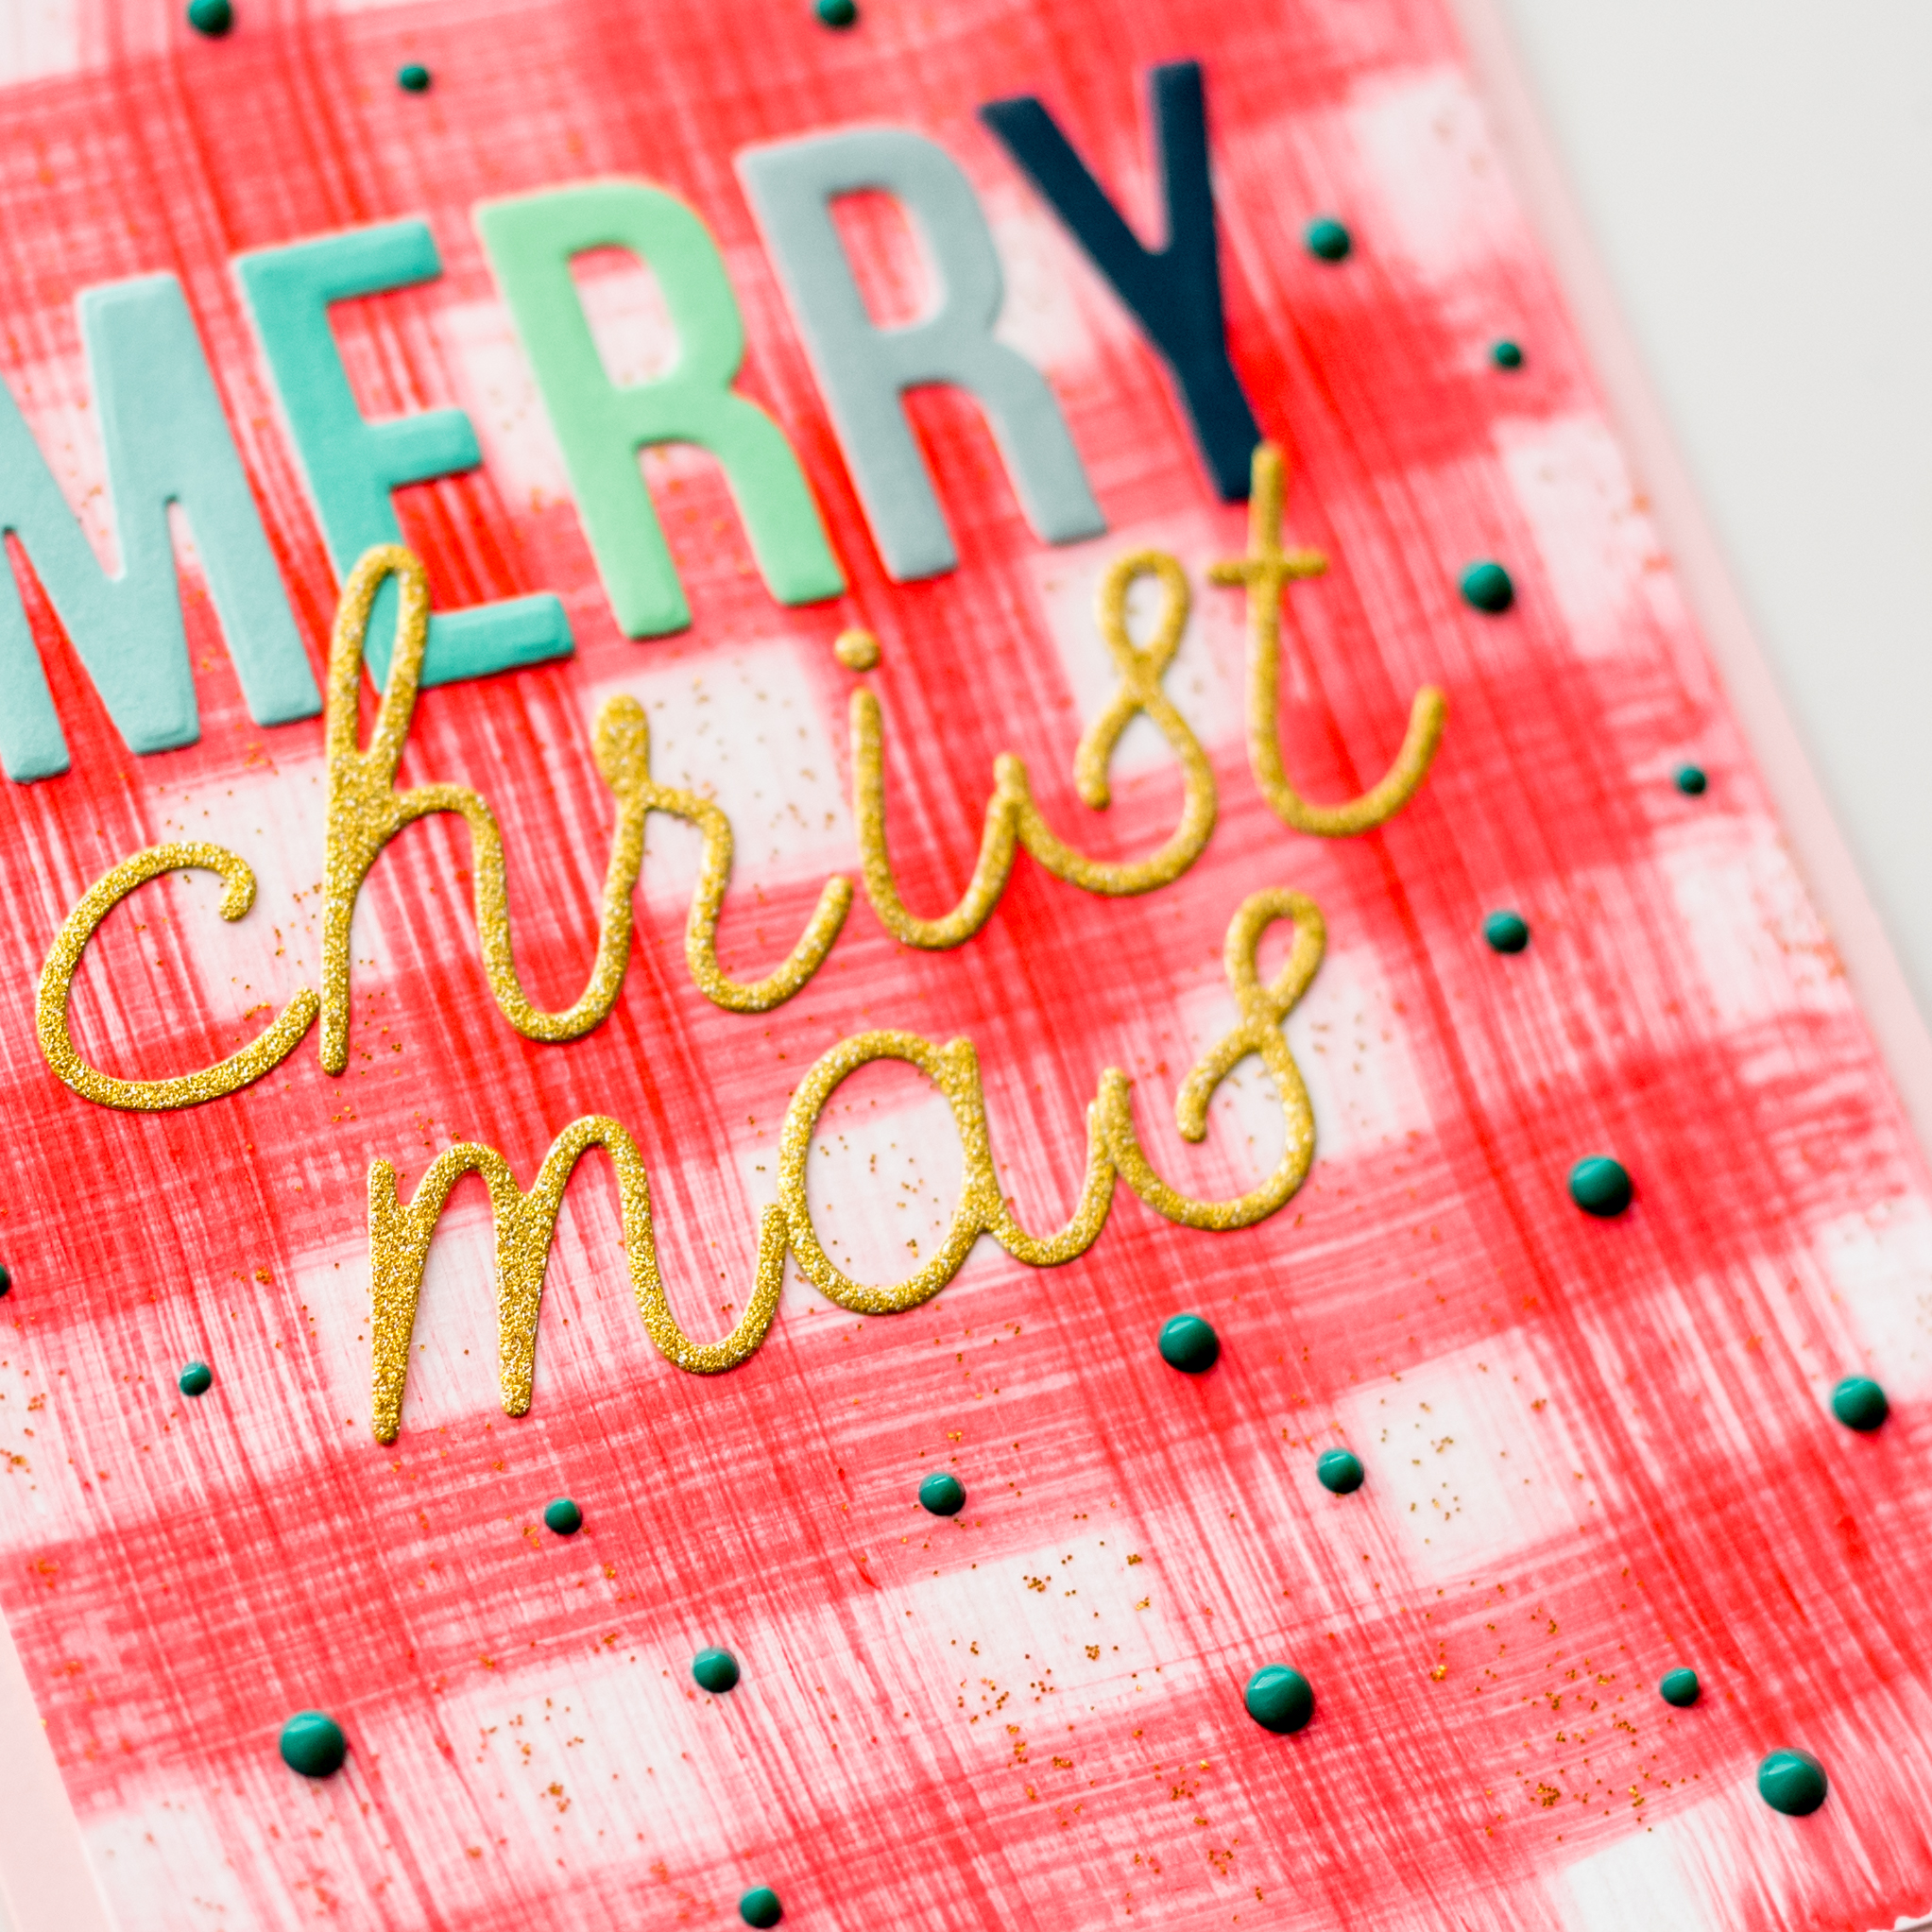
While the background is drying, I chose papers from the Peppermint Paper Pad and cut the word Merry from the Christmas Block Words Set. Quick tip: save all the negatives and extra letters to make more Christmas cards later on. 

Next, I cut letters to spell Christmas in gold cardstock with adhesive backing (I got mine from the big box store) using the Loopy Cursive Die Set. I then adhere the sentiment onto my card panel.


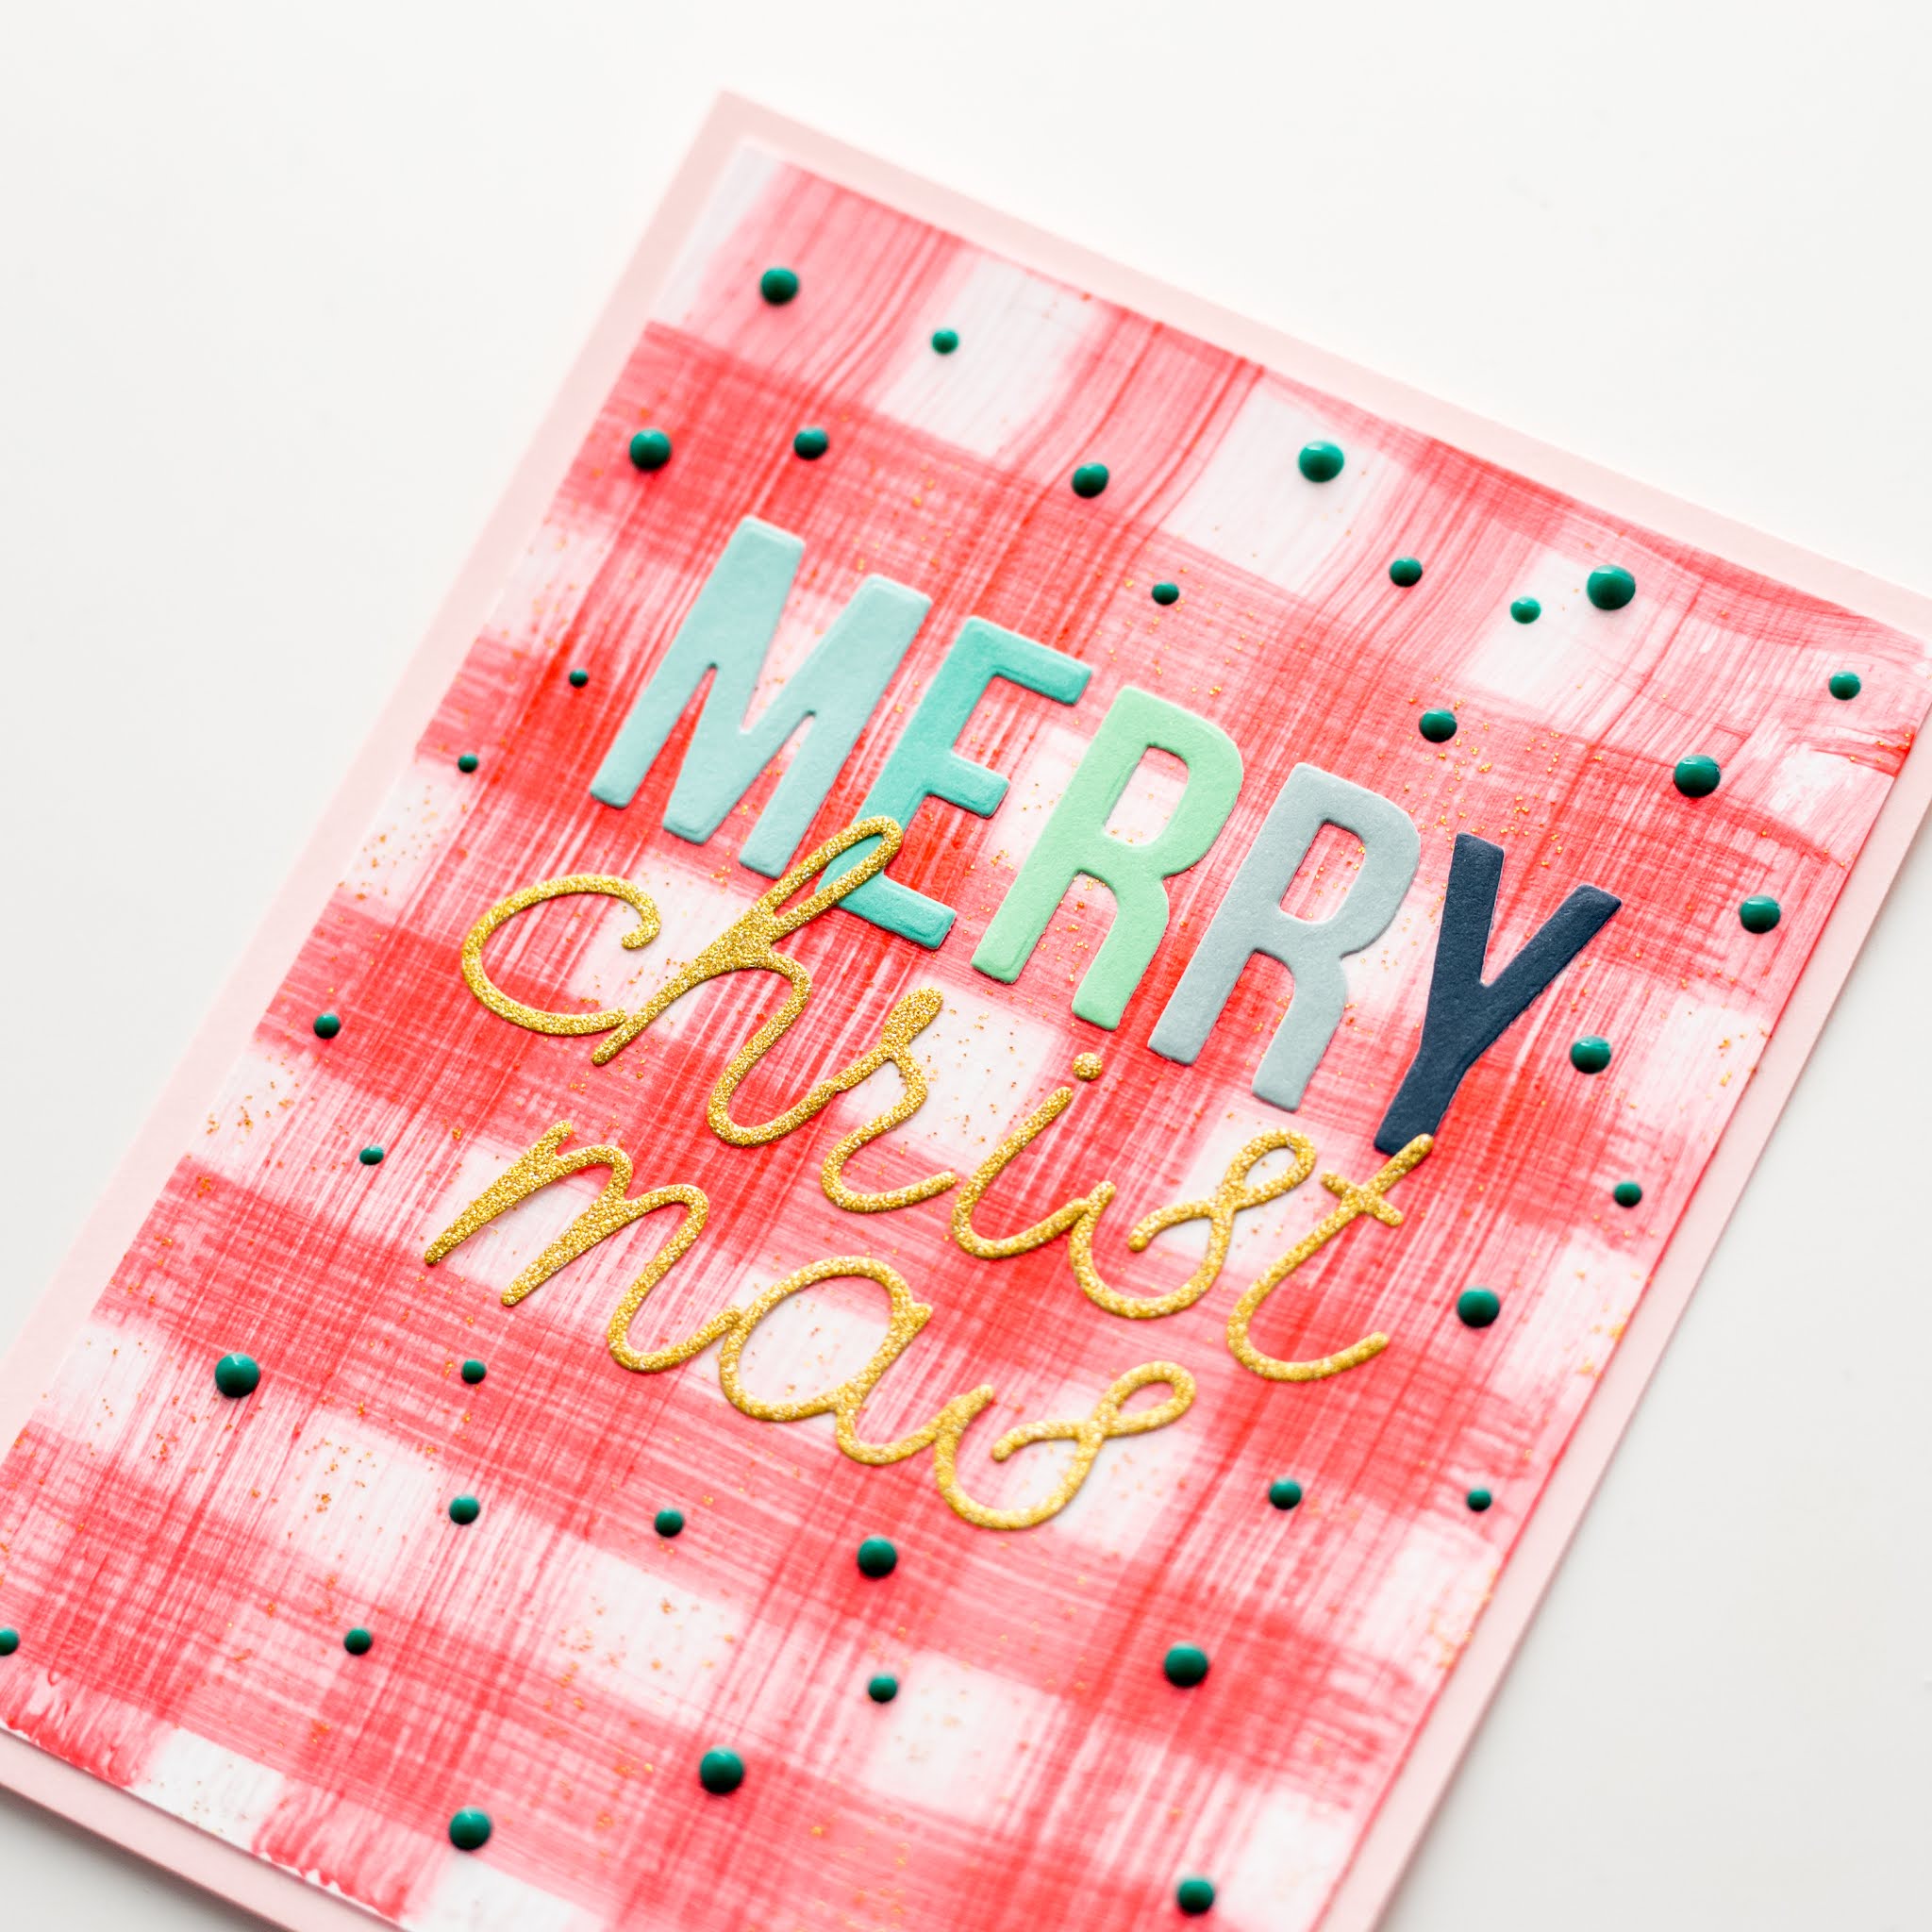
I wanted a little bit of pink, so I cut a pink cardstock down to 4.25 x 5.5 inches and the gingham card panel to 4 x 5.25 inches and layered them together. I also added dots here and there using the Pops of Color in Holly Green

Lastly, I adhered the panel onto a card base.

That's all for this Christmas card. I hope that you like it!

Comments

Popular posts from this blog

Heffy Doodle and Gerda Steiner Designs Collaboration

  Welcome to the Heffy Doodle and Gerda Steiner Designs Collaboration Blog Hop! Design Team members from both companies are sharing inspiration using products from both companies! For this fun collaboration, I made a slimline birthday card. To begin, I stamped, colored, and cut images from Gerda Steiner Designs - On the Table , On the Bookshelf and the new Heffy Doodle Popping By stamp set. I then cut the largest rectangle from the Heffy Doodle Stitched Slimline Trio Dies in white cardstock. For my table, I used the Ain't So Plaid Stencil and inked with Mustard Seed and Squeezed Lemonade Distress Oxides. The top portion is ink blended with Tattered Rose and I splattered some black and rose gold acrylic paint for interest. I then white heat embossed the happy birthday sentiment onto a strip of black cardstock. Next, I adhered the elements down onto the card. Lastly, I adhered my panel onto a slimline card base. BLOG HOP DETAILS: To be entered to win the giveaway, all you need ...

Merriest Christmas Wishes - Pretty Pink Posh

Hello friends. I'm here to show you a super easy Christmas shaker card made possible by the new Pretty Pink Posh Tree Cover Plate . I get really excited when I can whip up a card in just a few minutes. Let's get started! First, I cut the Tree Cover Plate from light pink cardstock and glued a sheet of clear acetate on the back. I added foam tape all around the edges and in the spaces between the trees. Then, I sprinkled in some Christmas Cookie Shaker Beads . After that, I peeled off the backing of the foam tape and glued on a patterned paper that's A2-sized. For the words, I used white heat embossed with a saying from the Sentiment Strips: Christmas Stamp Set on red cardstock. Then, I cut it out with a die from the Sentiment Strip Dies and gave it some extra pop by mounting it with foam. To make things extra special, I added Metallic Gold Pearls here and there for a touch of sparkle. I'm just thrilled with how quickly this card came together. I hope it gets your cre...

Thankful For You - Pretty Pink Posh

Hey crafty pals!  I have a cool box card to share. I had this idea of fitting the PPP mug into the Scallop Box Card , and guess what? It totally worked, and I'm beyond thrilled! So, let's dive into the nitty-gritty. I grabbed some Sage green cardstock and cut out the box card. I assembled the box and added in three inserts and jazzed things up with dies from the Fall Cornucopia and Fall Mug Additions Dies. I used Spellbinders cardstock for all those awesome dies. How adorable is that little fox peeking out of the mug, by the way? And speaking of the mug, I added a sweet design using the Deco Leaves Stencil and some Glacier White Ranges Pigment Ink . Now, here comes the fun part. I used the Fall Mug Additions Dies and Fall Cornucopia Dies to cut out various shapes in different cardstock colors. I glued these on the inserts, creating the cutest autumn scene you ever did see. Next up, I used hot foil to make the Thankful Script shine, cut it with the Thankful Shadow Die, and ...