Hello and welcome to the Pretty Pink Posh June 2023 Release Blog Hop!

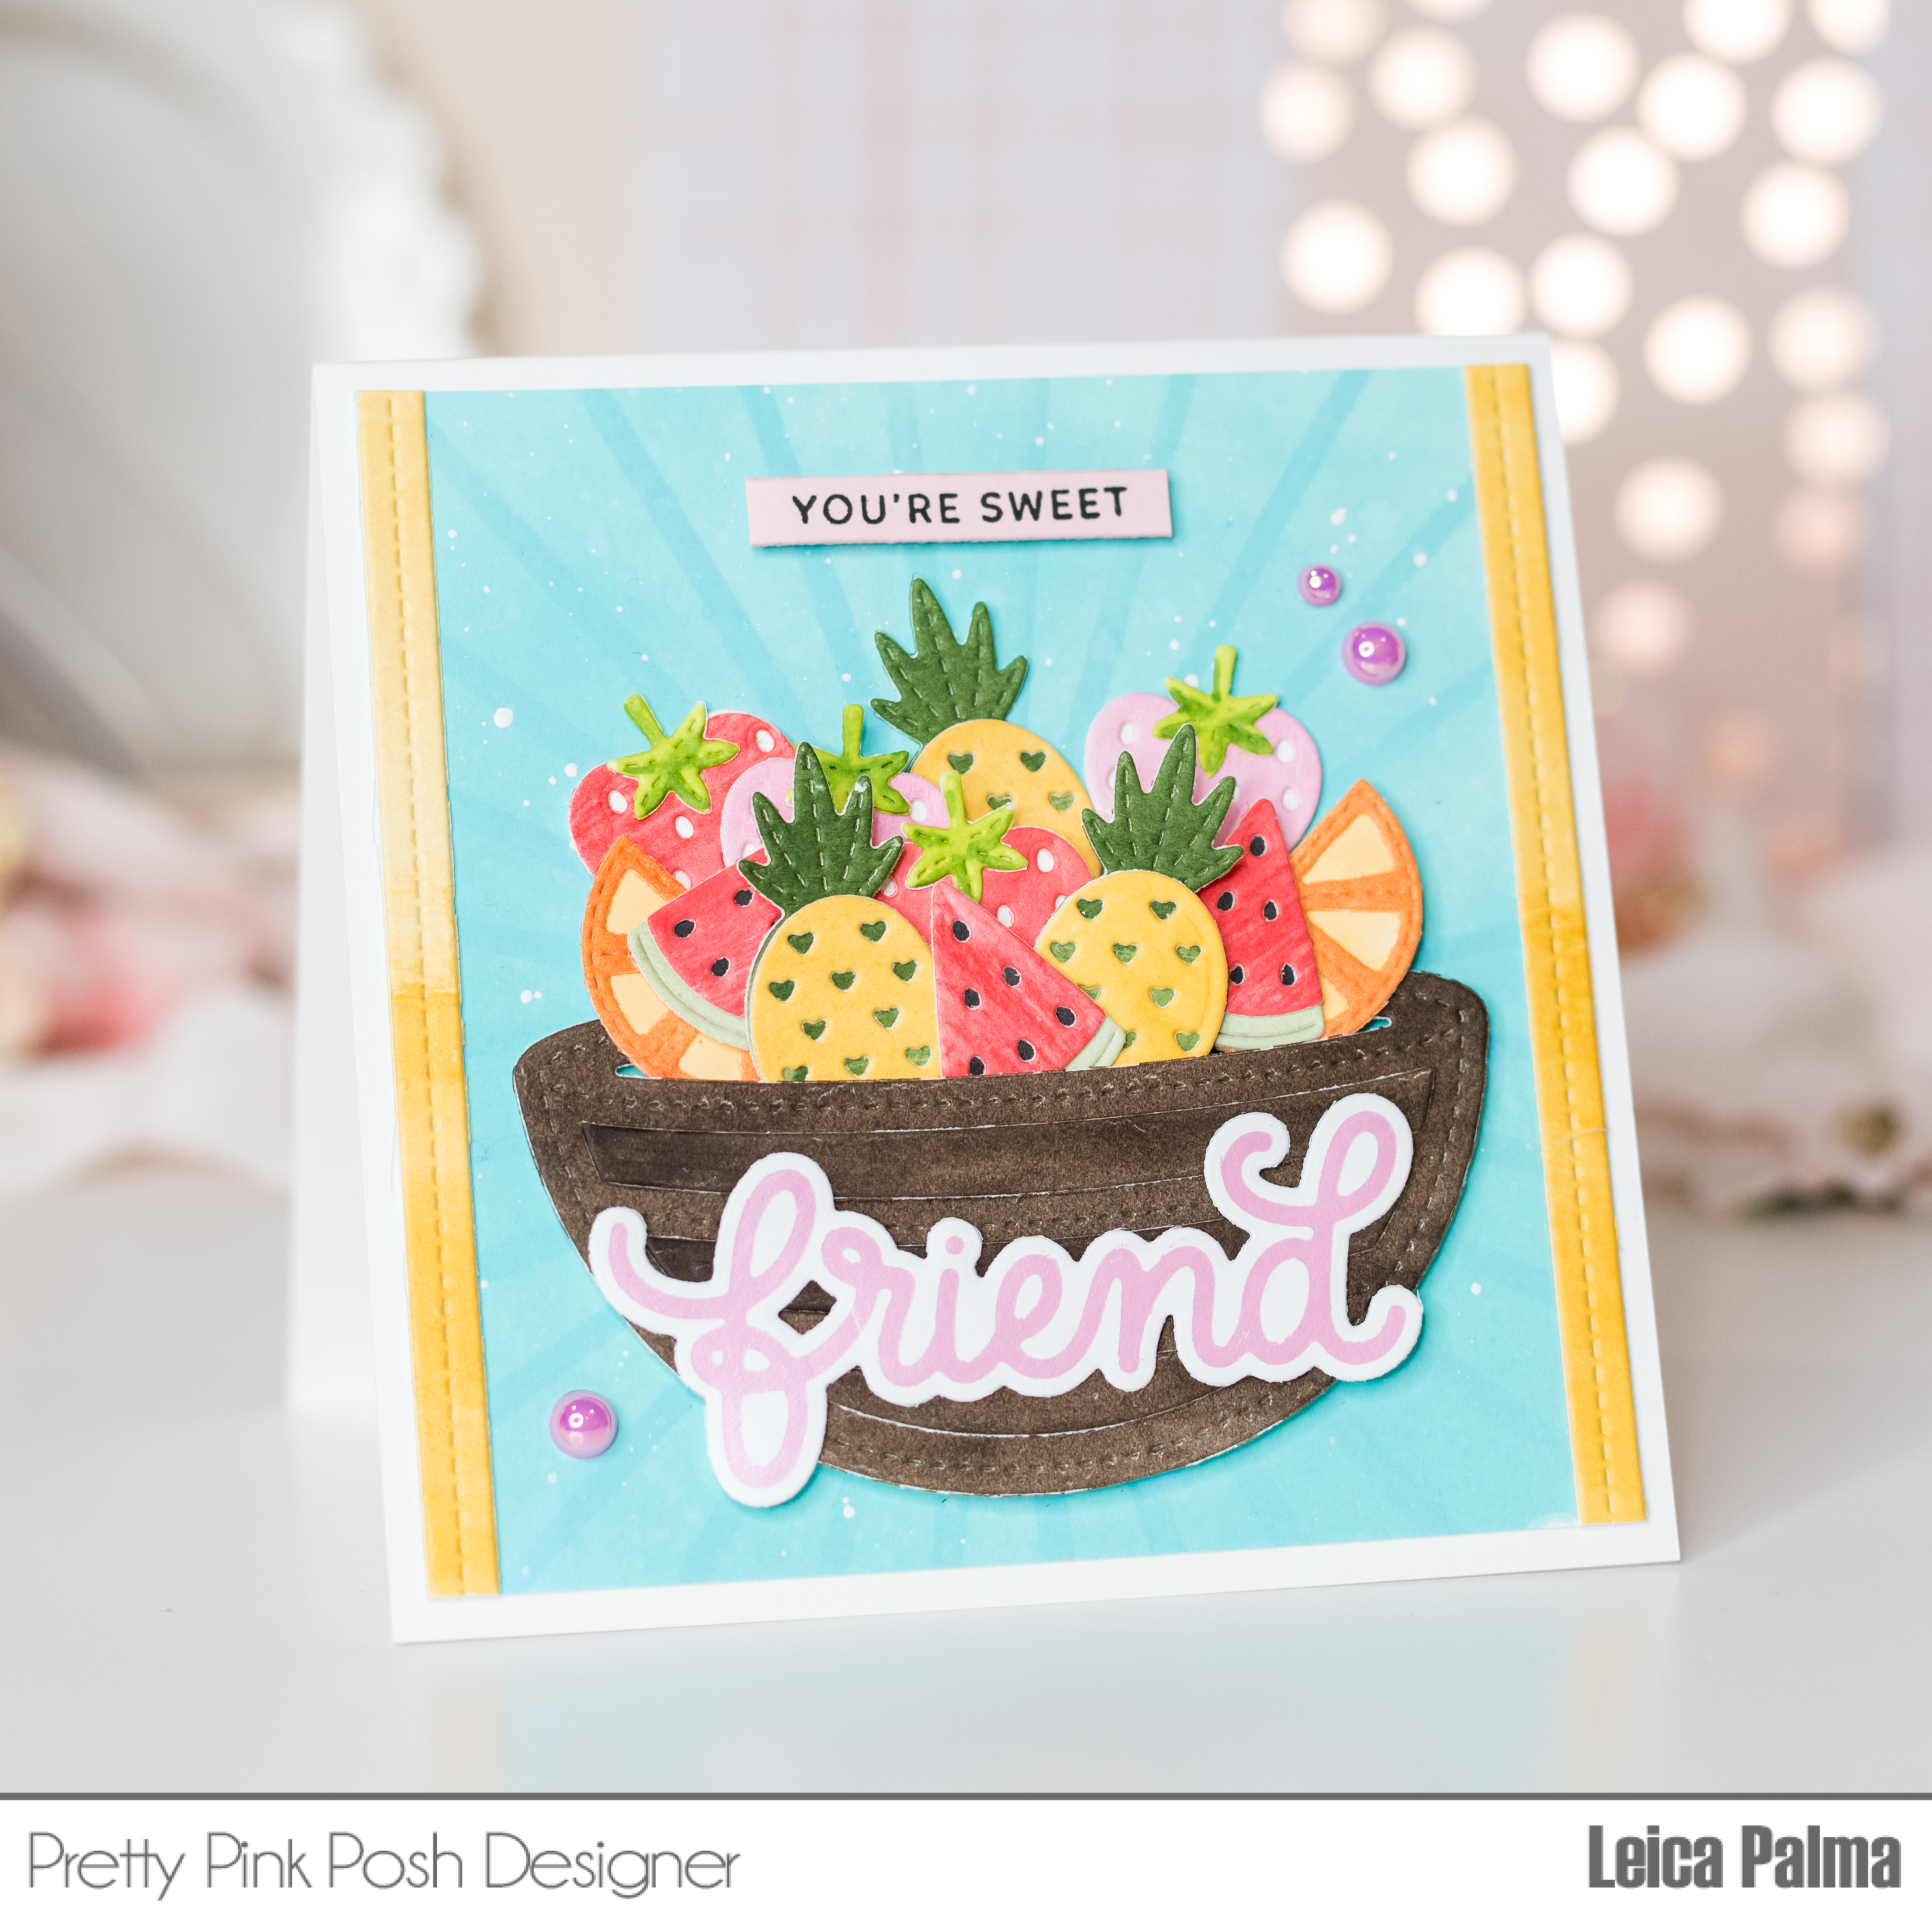
For my card, I started with a 4.25 inch square white cardstock and ink blended it with Salvaged Patina Distress Oxide Ink, giving it a lovely blue-green shade. Then, I used the Starburst Stencil with the same ink to add a pattern, creating a cool tone-on-tone effect. For extra visual interest, I splattered some white ink on top.
Next, I painted various papers with watercolors and used them with the Fruit Mug Additions Dies to cut out adorable little fruits. I absolutely adore how vibrant and playful they turned out! I also cut the Fruit Bowl from brown watercolored paper and arranged the bowl and fruits on the card panel.
To enhance the card's design, I added yellow borders on both sides of the panel. These borders were created using the frame die from the Fancy Cake Dies, which I simply trimmed to fit perfectly.
For a special touch, I used pink hot foil to beautifully write the word "Friend" on white cardstock. Using the Friend Shadow Dies, I then cut it out and carefully glued it onto the fruit bowl. To convey a sweet message, I stamped the phrase "You're Sweet" on a strip of pink cardstock using black ink.
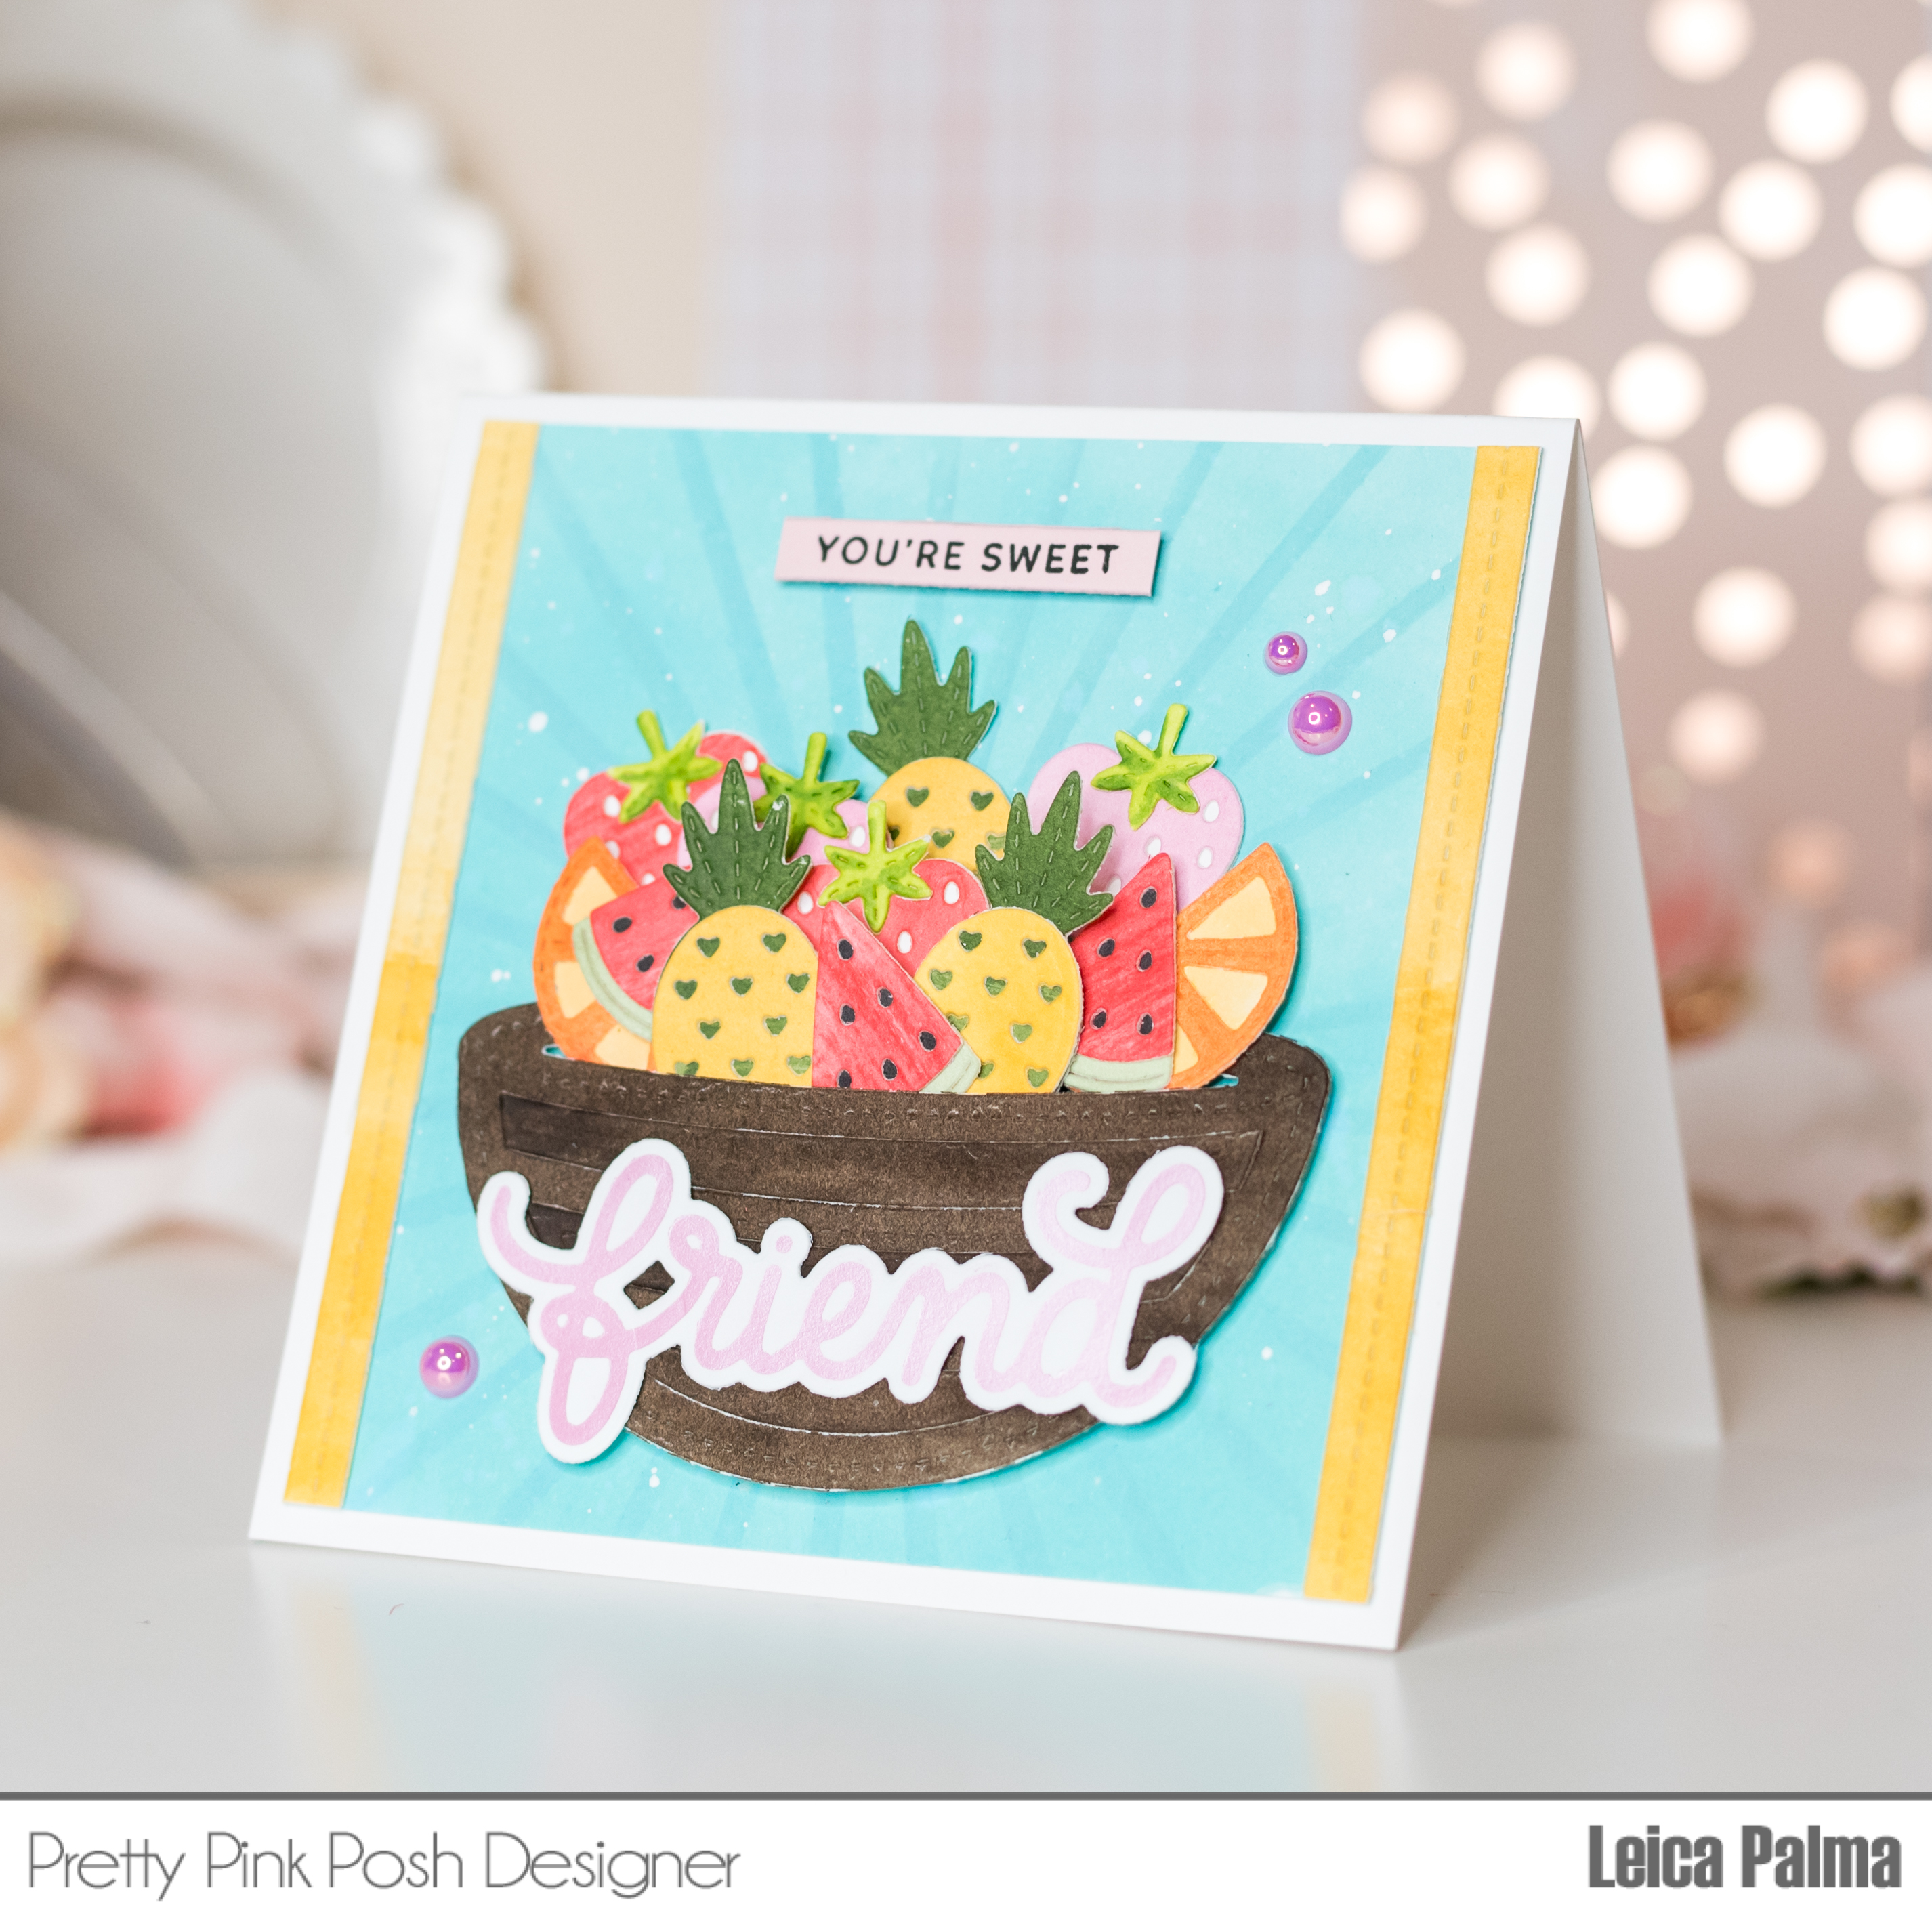
Finally, I securely attached the card panel onto a slightly larger 4.5 inch square white cardstock. To add a touch of shine and texture, I embellished the card with Bubblegum Pearls, scattering them here and there.
Make sure to check out the rest of the Hop for more inspiration using the new products from Pretty Pink Posh! There are 3 $30 gift certificates up for grabs (one winner each day). Winners will be picked randomly along the blog hop. Comments must be left by 11:59 PM PST on 06/14/2023. Winners will be announced on the PPP blog.
Leica, love your sweet fruit basket!
ReplyDeleteWhat a darling, colorful fruit bowl! I LOVE IT!
ReplyDelete
ReplyDeleteWhat a fun, colorful card. Love that fruit basket!
What a fun card!
ReplyDeleteThis is a really cute card... the colors and the layering. I especially like the different fruits and the pretty blue burst background. TFS
ReplyDeleteHi, Leica... Love the background, especially the starburst. Love the foiling too! The whole card is expertly created! Lori S in PA
ReplyDeleteHow cute and summery this is. I love the colors, both soft and bright.
ReplyDeleteOh my goodness, I absolutely LOVE the fruit bowl! A beautiful card! Amazing job!
ReplyDeleteLove the fruit bowl! Bet you had fun making that!
ReplyDeleteLove this fruit bowl and I really love the background!
ReplyDeleteLoving your fruit basket! Nicely done!
ReplyDeleteLove your fruit bowl card! The die cut fruit is so fun, and I really love the cute pineapples! Great background and colors for your awesome card!
ReplyDeleteLovely card! Love the blue 'starburst' - a nice change from the usual sunny yellow background.
ReplyDeleteADORABLE Card!! LOVE that Bowl of ADORABLE Fruit!! THANKS for sharing and have a FABULOUS WEEK!!
ReplyDeleteAdorable!! Love this cute release!
ReplyDeleteGreat release, beautiful card 😍
ReplyDeleteI really like the fruit bowl, great Summer time card!
ReplyDeleteAdorable card! Love the colorful bowl of fruit.
ReplyDeleteThanks for sharing.
Your fruit bowl is so cute!
ReplyDeleteLove the fruit bowl! What a great design and pretty colors!
ReplyDeleteThis is a fabulous fruit bowl!
ReplyDeleteLove the basket of fruit. The pineapples
ReplyDeleteare great. thanks for sharing.
Adorable card! Love all the fruit!
ReplyDeleteLove this bowl of sweet fruit!
ReplyDeleteYour card stands out from all the others with the softer palette of colors you used. So wonderful!
ReplyDeleteAm loving the array of colors and textures and especially the pink foiling for Friend! You do amazing work and am in love with your ever so sweet card!
ReplyDelete