
Happy Thanksgiving - Pretty Pink Posh

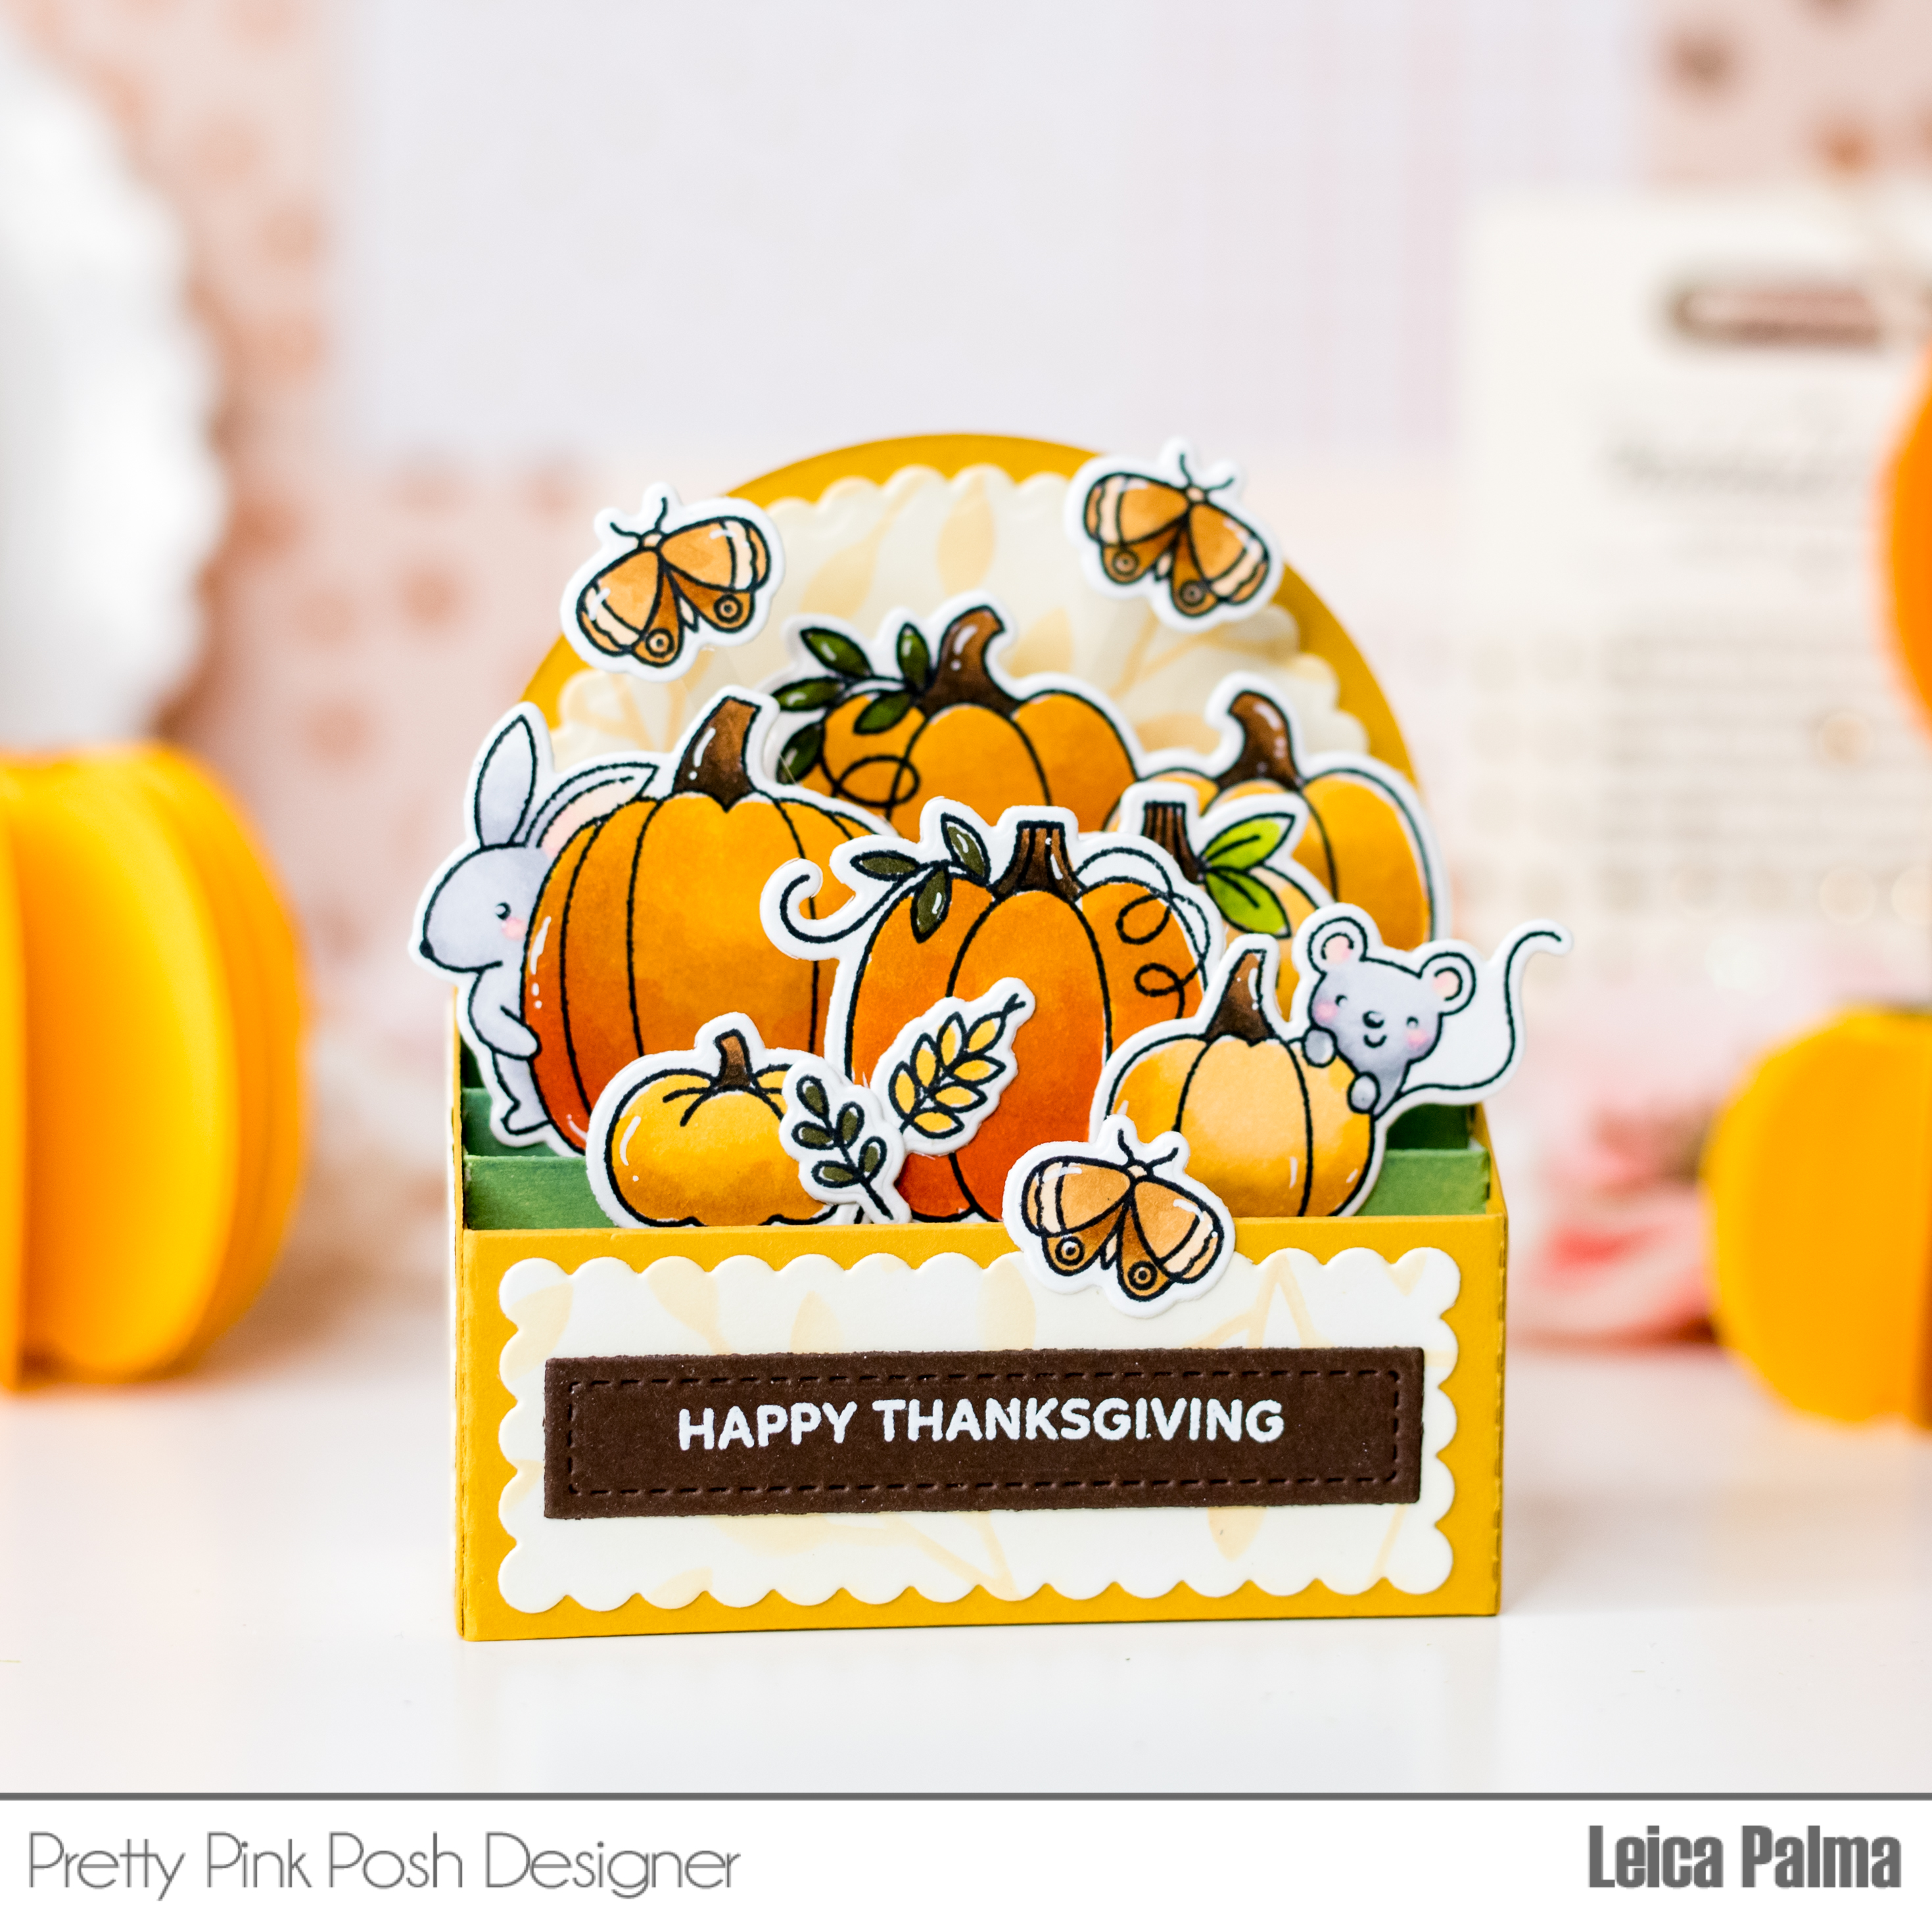
Hello friends! I'm excited to share a delightful autumn-themed box card with you. Inside, you'll find the most adorable pumpkins and critters from Pretty Pink Posh. To create this card, I've combined a few different stamp sets and dies. Let's dive right in!


To start, I put together the Scallop Box Card die using yellow cardstock and added three green inserts. Afterward, I stamped, colored, and cut out the charming images from the Autumn Pumpkins, Fall Jar, and Pumpkin Patch Critters Stamp Set. I used my trusty Ohuhu markers for this step.


Next, I attached these lovely images onto the inserts of the box card. For the heartfelt message, I turned to the Sentiment Strips: Fall Stamp Set. I heat embossed the sentiment in white onto brown cardstock and used a scallop rectangle die from the Sentiment Strips Dies to cut it out.

And there you have it, my splendid box card creation! I genuinely hope you find it appealing and that it sparks your inspiration to craft a Thanksgiving card for your dear ones. Thank you so much for joining me today!


Comments

Popular posts from this blog

Merriest Christmas Wishes - Pretty Pink Posh

Hello friends. I'm here to show you a super easy Christmas shaker card made possible by the new Pretty Pink Posh Tree Cover Plate . I get really excited when I can whip up a card in just a few minutes. Let's get started! First, I cut the Tree Cover Plate from light pink cardstock and glued a sheet of clear acetate on the back. I added foam tape all around the edges and in the spaces between the trees. Then, I sprinkled in some Christmas Cookie Shaker Beads . After that, I peeled off the backing of the foam tape and glued on a patterned paper that's A2-sized. For the words, I used white heat embossed with a saying from the Sentiment Strips: Christmas Stamp Set on red cardstock. Then, I cut it out with a die from the Sentiment Strip Dies and gave it some extra pop by mounting it with foam. To make things extra special, I added Metallic Gold Pearls here and there for a touch of sparkle. I'm just thrilled with how quickly this card came together. I hope it gets your cre...

Merry Christmas - Pretty Pink Posh

Hello friends! T oday I've got a delightful Christmas shaker card featuring the Pretty Pink Posh Stocking Shaker Die as the star of the show. This card is a breeze to recreate, so let's dive right in! First things first, I took some pink cardstock and cut it into a large rectangle using the Eyelet Rectangles Dies. Then, I used the Stocking Shaker Die to cut out the center area of the stocking. I taped the edges of the stocking onto the pink card panel and added a piece of clear acetate to the back of the stocking shape. To create the shaker part, I attached foam tape to the back of the card panel and filled it up with the Christmas Tree Mix . For the back of the shaker stocking, I used a piece of red cardstock that I decorated with dots using the Mini Polka Dots Stencil. For the sentiment, I cut out " Merry " in silver glitter foam and stamped " Christmas " in black ink on the top part of the stocking. Next, I cut out a cute Christmas tree from green card...

Thankful For You - Pretty Pink Posh

Hey crafty pals!  I have a cool box card to share. I had this idea of fitting the PPP mug into the Scallop Box Card , and guess what? It totally worked, and I'm beyond thrilled! So, let's dive into the nitty-gritty. I grabbed some Sage green cardstock and cut out the box card. I assembled the box and added in three inserts and jazzed things up with dies from the Fall Cornucopia and Fall Mug Additions Dies. I used Spellbinders cardstock for all those awesome dies. How adorable is that little fox peeking out of the mug, by the way? And speaking of the mug, I added a sweet design using the Deco Leaves Stencil and some Glacier White Ranges Pigment Ink . Now, here comes the fun part. I used the Fall Mug Additions Dies and Fall Cornucopia Dies to cut out various shapes in different cardstock colors. I glued these on the inserts, creating the cutest autumn scene you ever did see. Next up, I used hot foil to make the Thankful Script shine, cut it with the Thankful Shadow Die, and ...