
Cuddly Cats - Pretty Pink Posh

Hello friends! I've used this Pretty Pink Posh Cuddly Cats stamp set plenty of times, but I just love it so much that I made another cat themed card.


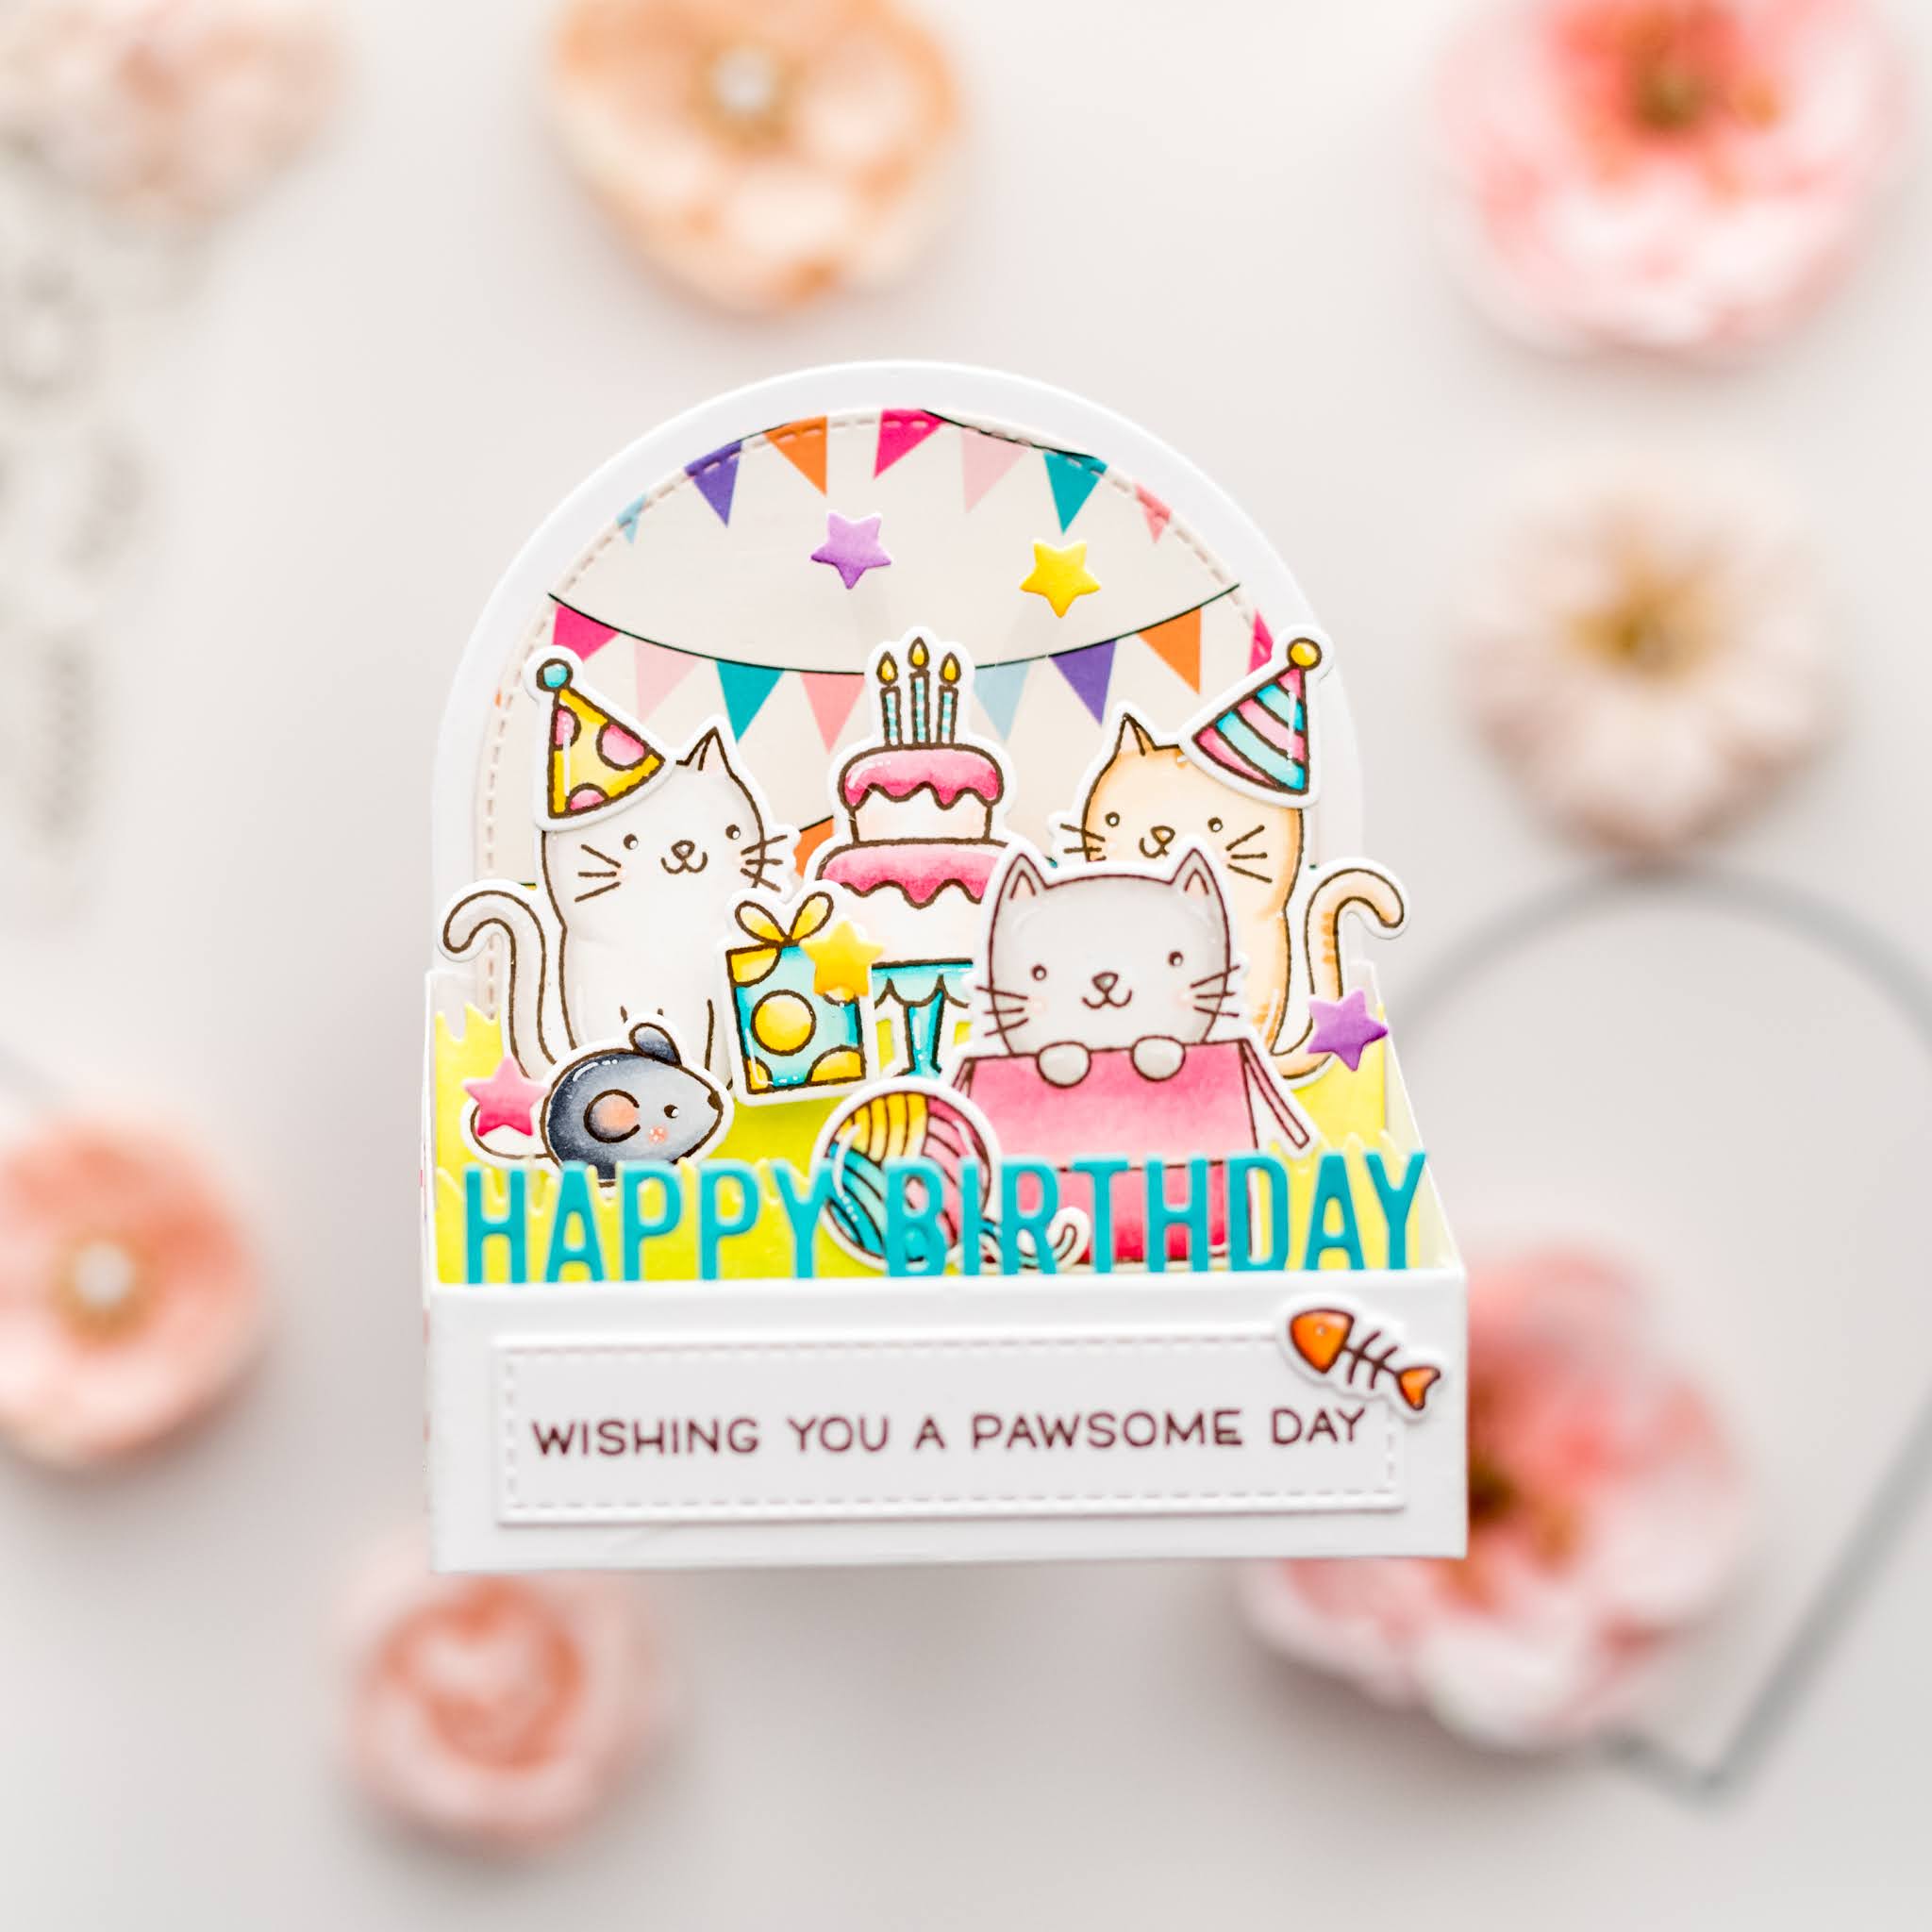
Let’s start! I first assembled the box using the My Favorite Things Dies-namics - Outside the Box Level Up. For the back panel, I used an old patterned paper by Echo Park. For the inserts, I made grass panels for the inserts that I ink blended with Twisted Citron Distress Oxide Ink.

The adorable images are from Pretty Pink Posh Cuddly Cats Stamp Set. I stamped them on 110lb white cardstock in Memento Rich Cocoa ink. I used Copic Sketch markers in BG15/11, E11/00/000, N5/3/1, R85/83/81, Y18/13, YR07/04. I cut the images with their coordinating dies and I adhered them onto the card inserts. 


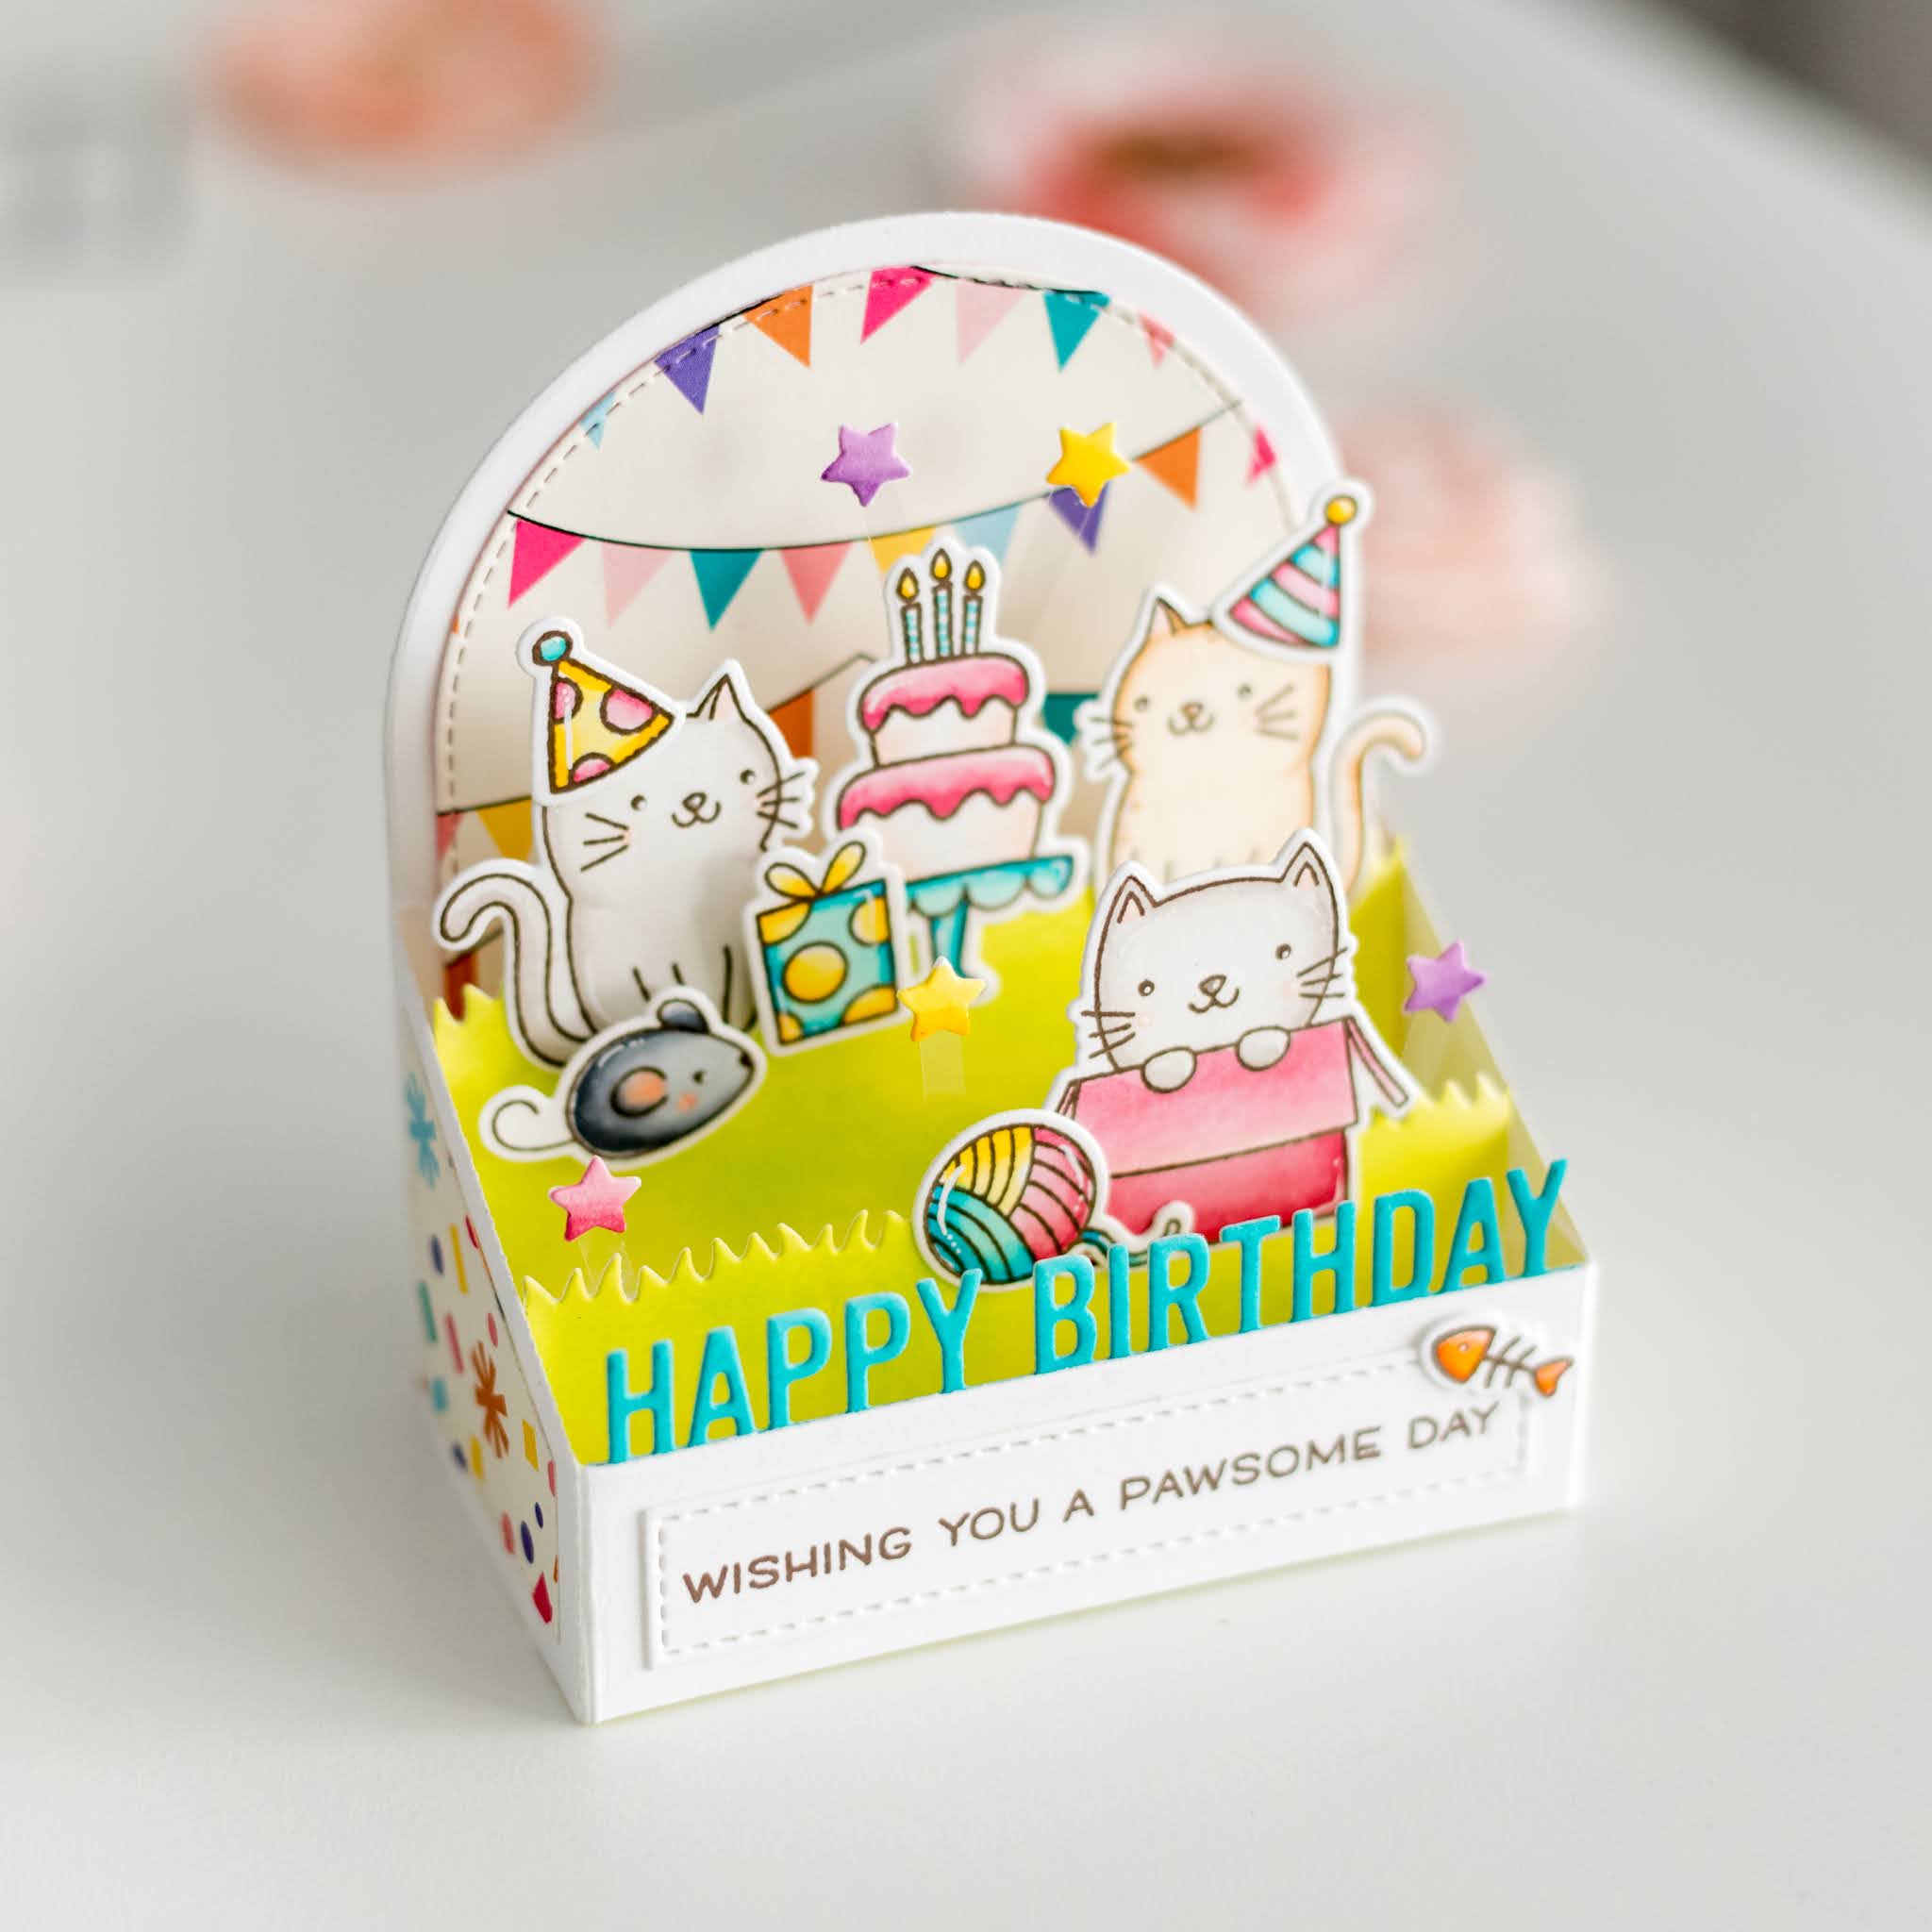
Next, I cut the Happy Birthday die in white cardstock, colored with Peacock Feathers Distress Oxide Ink and adhered it behind the front panel. The sentiment and fish image is from the Lawn Fawn Meow You Doin' Stamp Set. 


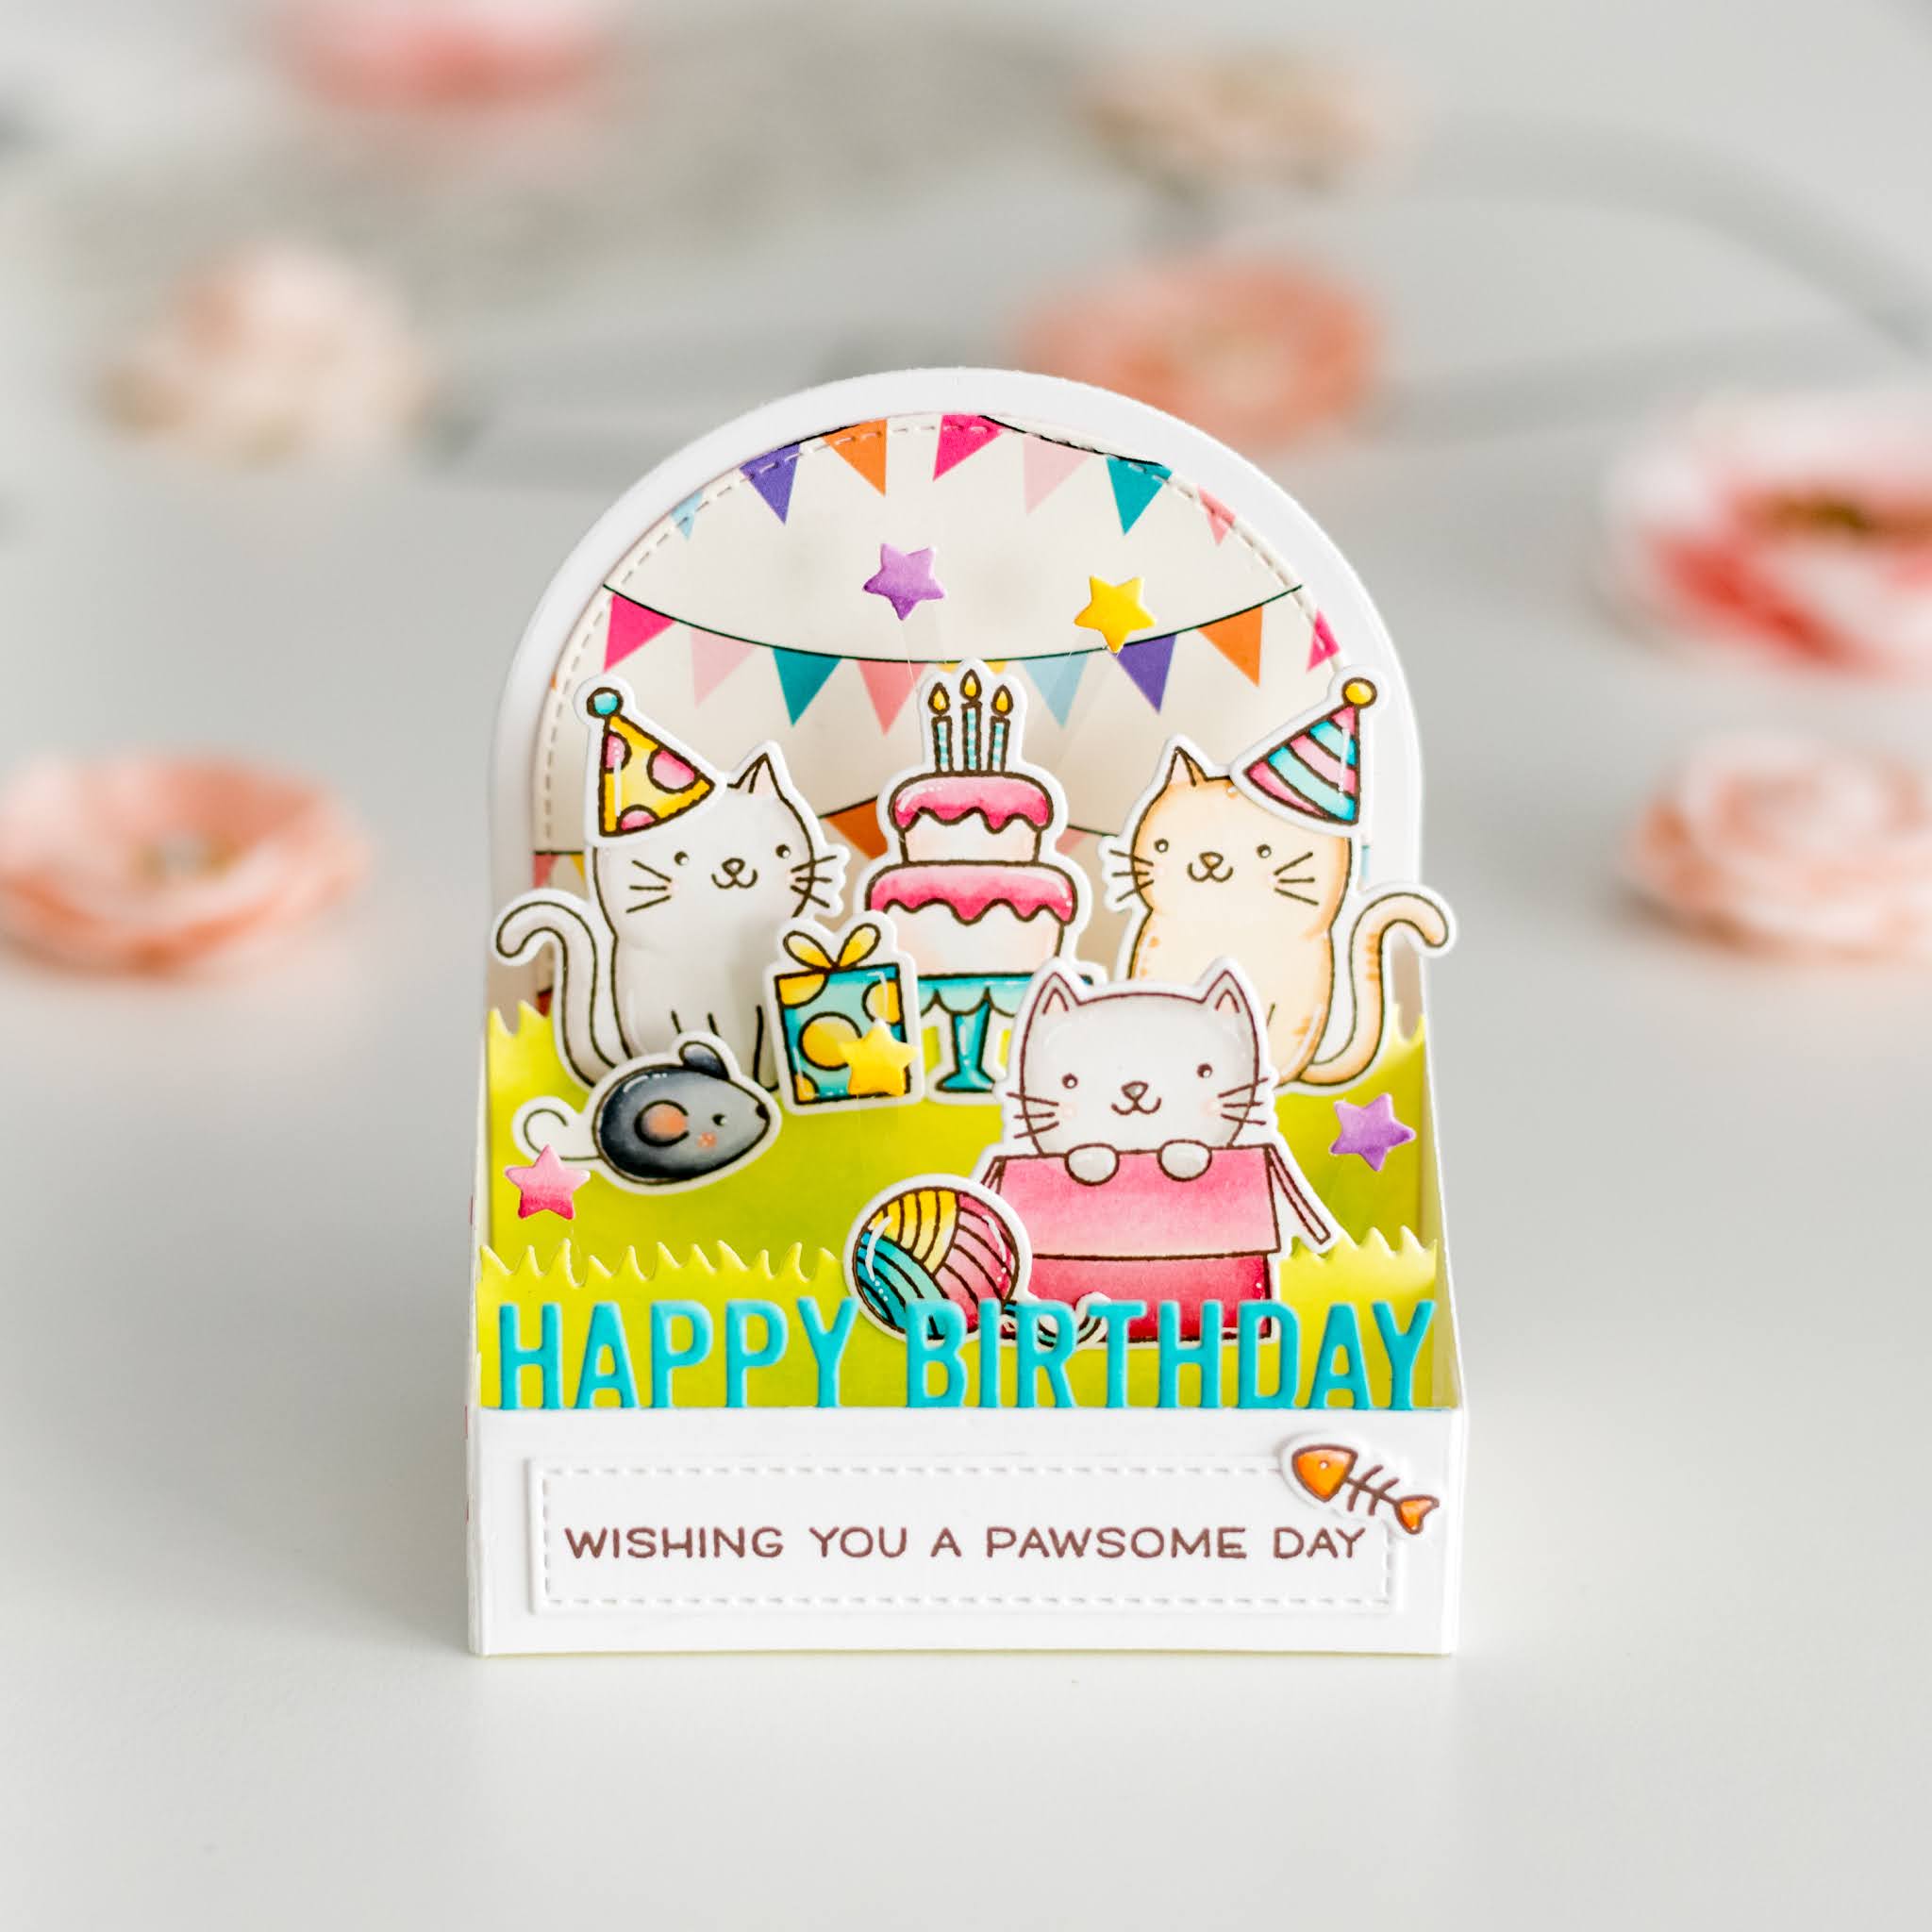
Lastly, I cut little stars, colored with Copic markers, adhered onto acetate strips, and glued to the inserts. 

That's all for this adorable cat card. Thanks so much for stopping by!

Comments

Popular posts from this blog

Heffy Doodle and Gerda Steiner Designs Collaboration

  Welcome to the Heffy Doodle and Gerda Steiner Designs Collaboration Blog Hop! Design Team members from both companies are sharing inspiration using products from both companies! For this fun collaboration, I made a slimline birthday card. To begin, I stamped, colored, and cut images from Gerda Steiner Designs - On the Table , On the Bookshelf and the new Heffy Doodle Popping By stamp set. I then cut the largest rectangle from the Heffy Doodle Stitched Slimline Trio Dies in white cardstock. For my table, I used the Ain't So Plaid Stencil and inked with Mustard Seed and Squeezed Lemonade Distress Oxides. The top portion is ink blended with Tattered Rose and I splattered some black and rose gold acrylic paint for interest. I then white heat embossed the happy birthday sentiment onto a strip of black cardstock. Next, I adhered the elements down onto the card. Lastly, I adhered my panel onto a slimline card base. BLOG HOP DETAILS: To be entered to win the giveaway, all you need ...

Merriest Christmas Wishes - Pretty Pink Posh

Hello friends. I'm here to show you a super easy Christmas shaker card made possible by the new Pretty Pink Posh Tree Cover Plate . I get really excited when I can whip up a card in just a few minutes. Let's get started! First, I cut the Tree Cover Plate from light pink cardstock and glued a sheet of clear acetate on the back. I added foam tape all around the edges and in the spaces between the trees. Then, I sprinkled in some Christmas Cookie Shaker Beads . After that, I peeled off the backing of the foam tape and glued on a patterned paper that's A2-sized. For the words, I used white heat embossed with a saying from the Sentiment Strips: Christmas Stamp Set on red cardstock. Then, I cut it out with a die from the Sentiment Strip Dies and gave it some extra pop by mounting it with foam. To make things extra special, I added Metallic Gold Pearls here and there for a touch of sparkle. I'm just thrilled with how quickly this card came together. I hope it gets your cre...

Thankful For You - Pretty Pink Posh

Hey crafty pals!  I have a cool box card to share. I had this idea of fitting the PPP mug into the Scallop Box Card , and guess what? It totally worked, and I'm beyond thrilled! So, let's dive into the nitty-gritty. I grabbed some Sage green cardstock and cut out the box card. I assembled the box and added in three inserts and jazzed things up with dies from the Fall Cornucopia and Fall Mug Additions Dies. I used Spellbinders cardstock for all those awesome dies. How adorable is that little fox peeking out of the mug, by the way? And speaking of the mug, I added a sweet design using the Deco Leaves Stencil and some Glacier White Ranges Pigment Ink . Now, here comes the fun part. I used the Fall Mug Additions Dies and Fall Cornucopia Dies to cut out various shapes in different cardstock colors. I glued these on the inserts, creating the cutest autumn scene you ever did see. Next up, I used hot foil to make the Thankful Script shine, cut it with the Thankful Shadow Die, and ...