Hello friends and welcome to the Pretty Pink Posh October Release Blog Hop!
I love me some pink Christmas and today, I am sharing a slimline card featuring 2 new stamps from Pretty Pink Posh - Village Stamp Set and Village Additions Stamp Set. Let's get started!
For the card panel, I cut the largest rectangle from the Heffy Doodle DL Stitched Trio in white 110lb cardstock. This is the metric version of the slimline dies. I then placed a low tack tape on the bottom of the panel since I wanted the ground to remain white and ink blended the bottom with Victorian Velvet Distress Oxide Ink and the top with Spun Sugar Distress Oxide Ink. I then added snow using Glitz Glitter Gel in white through the new Snowfall Stencil.
Next, I stamped, colored, and cut the images from Village Stamp Set and Village Additions Stamp Set. I used Copic Sketch Markers to color them:Blues - B02/01/00/000
Greens - G02/00/000, G46/43/40
Pinks - R85/83/81
Reds - R24/22/20
Yellows - Y18/11
Greys - N5/3/1, T5/3/1, W3/1/0
I then glued down the buildings and lamp posts onto the card panel and the rest of the images are foam mounted for dimension. Pretty Pink Posh has new pearls in the shop and I for this card, I added Ivory Pearls here and there for added interest and texture.
For the sentiment, I stamped "Merry" in Tuxedo Black Memento ink on white cardstock and die cut with its coordinating die. I also cut 4 more and stacked them together for dimension. Then, I white heat embossed "Christmas" onto a strip of black cardstock. I used liquid glue to adhere the sentiment onto the card. Lastly, I adhered the panel onto a card base.
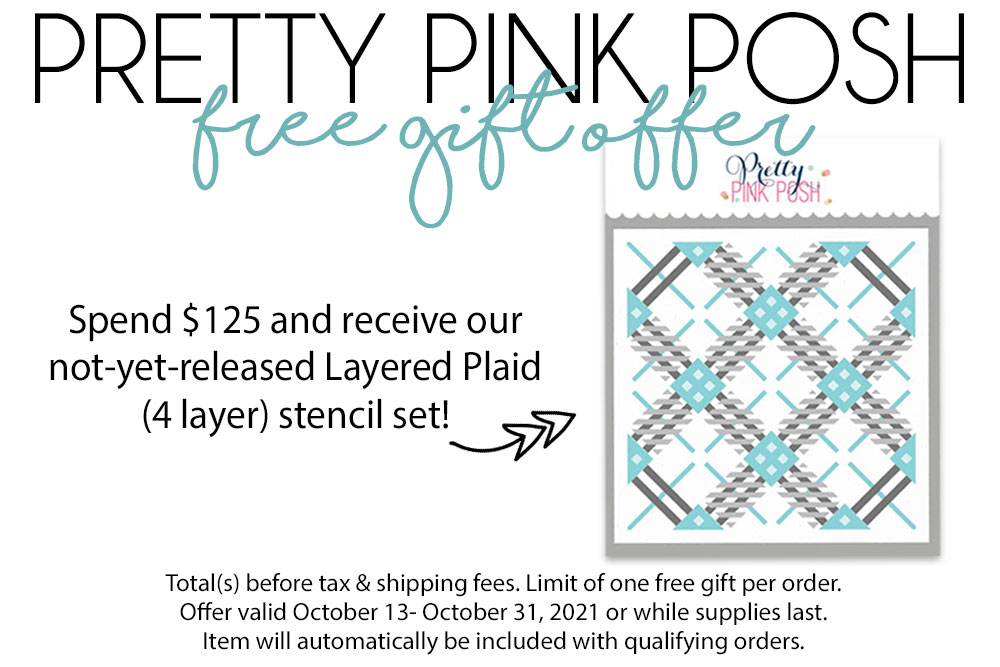
I hope that you enjoyed my pink holiday card and that I've inspired you to make Christmas cards for your loved ones. By the way, there is a FREE gift with a purchase over $125 on the Pretty Pink Posh website ;)


GORGEOUS scene! I LOVE the pink sky!
ReplyDeleteI love this card, with the pastels. Thank you so much for posting your Copic colors. I can't wait until my stamps arive!
ReplyDeleteI am in love with this village!!! Your colors are amazing.
ReplyDeleteLeica, I love your work anyway and this is spectacular! Great card, as always!
ReplyDeleteFabulous card, coloring and inspiration!
ReplyDeleteLove this sweet pink sky and darling village scene. This card is so lovely...those stamps by themselves were not my particular style, but your card has me rethinking that!
ReplyDeleteSuch a gorgeous card! Love the village scene and the awesome colors.
ReplyDeleteWhat a gorgeous holiday village scene in pastels! Your pink snowy sky looks fabulous!
ReplyDeleteYour card is so beautiful and your coloring is amazing. Wonderful!
ReplyDeleteThis little village is adorable. :)
ReplyDeleteLove the colors of this sweet village.
ReplyDeleteSimply adorable! Thank you for the inspiration!
ReplyDeleteLove your village scene! Beautiful coloring and details!
ReplyDeleteI love the colors you used!!
ReplyDeleteHi, Leica - Have admired your work many times -- no exception today. Love this quaint, pastel scene. I am just bowled over and knocked out by the use of pink in so many cards from many companies and many crafters this year. If it was used this much in the past, I don't recall it making such an impression on me. Your scene is so adorable and the word that comes to mind is "cozy." Thanks a million for sharing - it made me happy just to see this!
ReplyDeleteLori S in PA
I think this village stamp set is a must have!
ReplyDeleteI love your card, especially the Pink background and Glitz glitter gel for the snow.
Thanks for the inspiration!
This is such a beautiful scene! I'm not a pink person at all but you do it to perfection every time! I'm in awe!
ReplyDeleteAmazing!! I just love this magical holiday scene and these colors are awesome.
ReplyDeleteThis is so cute! I love the pink sky. :)
ReplyDeleteI would love to get this card in the mail because it just makes me smile:)
ReplyDeleteLots of work went into this card! Really beautiful and wonderful! I love the colors.
ReplyDeleteOut of this world cute!!!!!
ReplyDeleteThis is the sweetest little pink downtown. Great work!
ReplyDeleteWow what a great card. Lovely use of pink!
ReplyDeleteI just love this village scene you created The colors are so soft and pretty..
ReplyDeleteThis little winter scene is just so so super cute!!! Gorgeous colours!!! Thanks so much for the great inspiration. Stay safe! :)
ReplyDeleteLeica, you've showcased this new release well! Splendid winter village scene! Love the composition and color palette! Thanks for inspiring me :)
ReplyDeletethis card is AMAZING Leica!! thank you so much for sharing!!
ReplyDelete