Hey there, crafty friends! Welcome to the Pretty Pink Posh May 2023 Release Blog Hop!
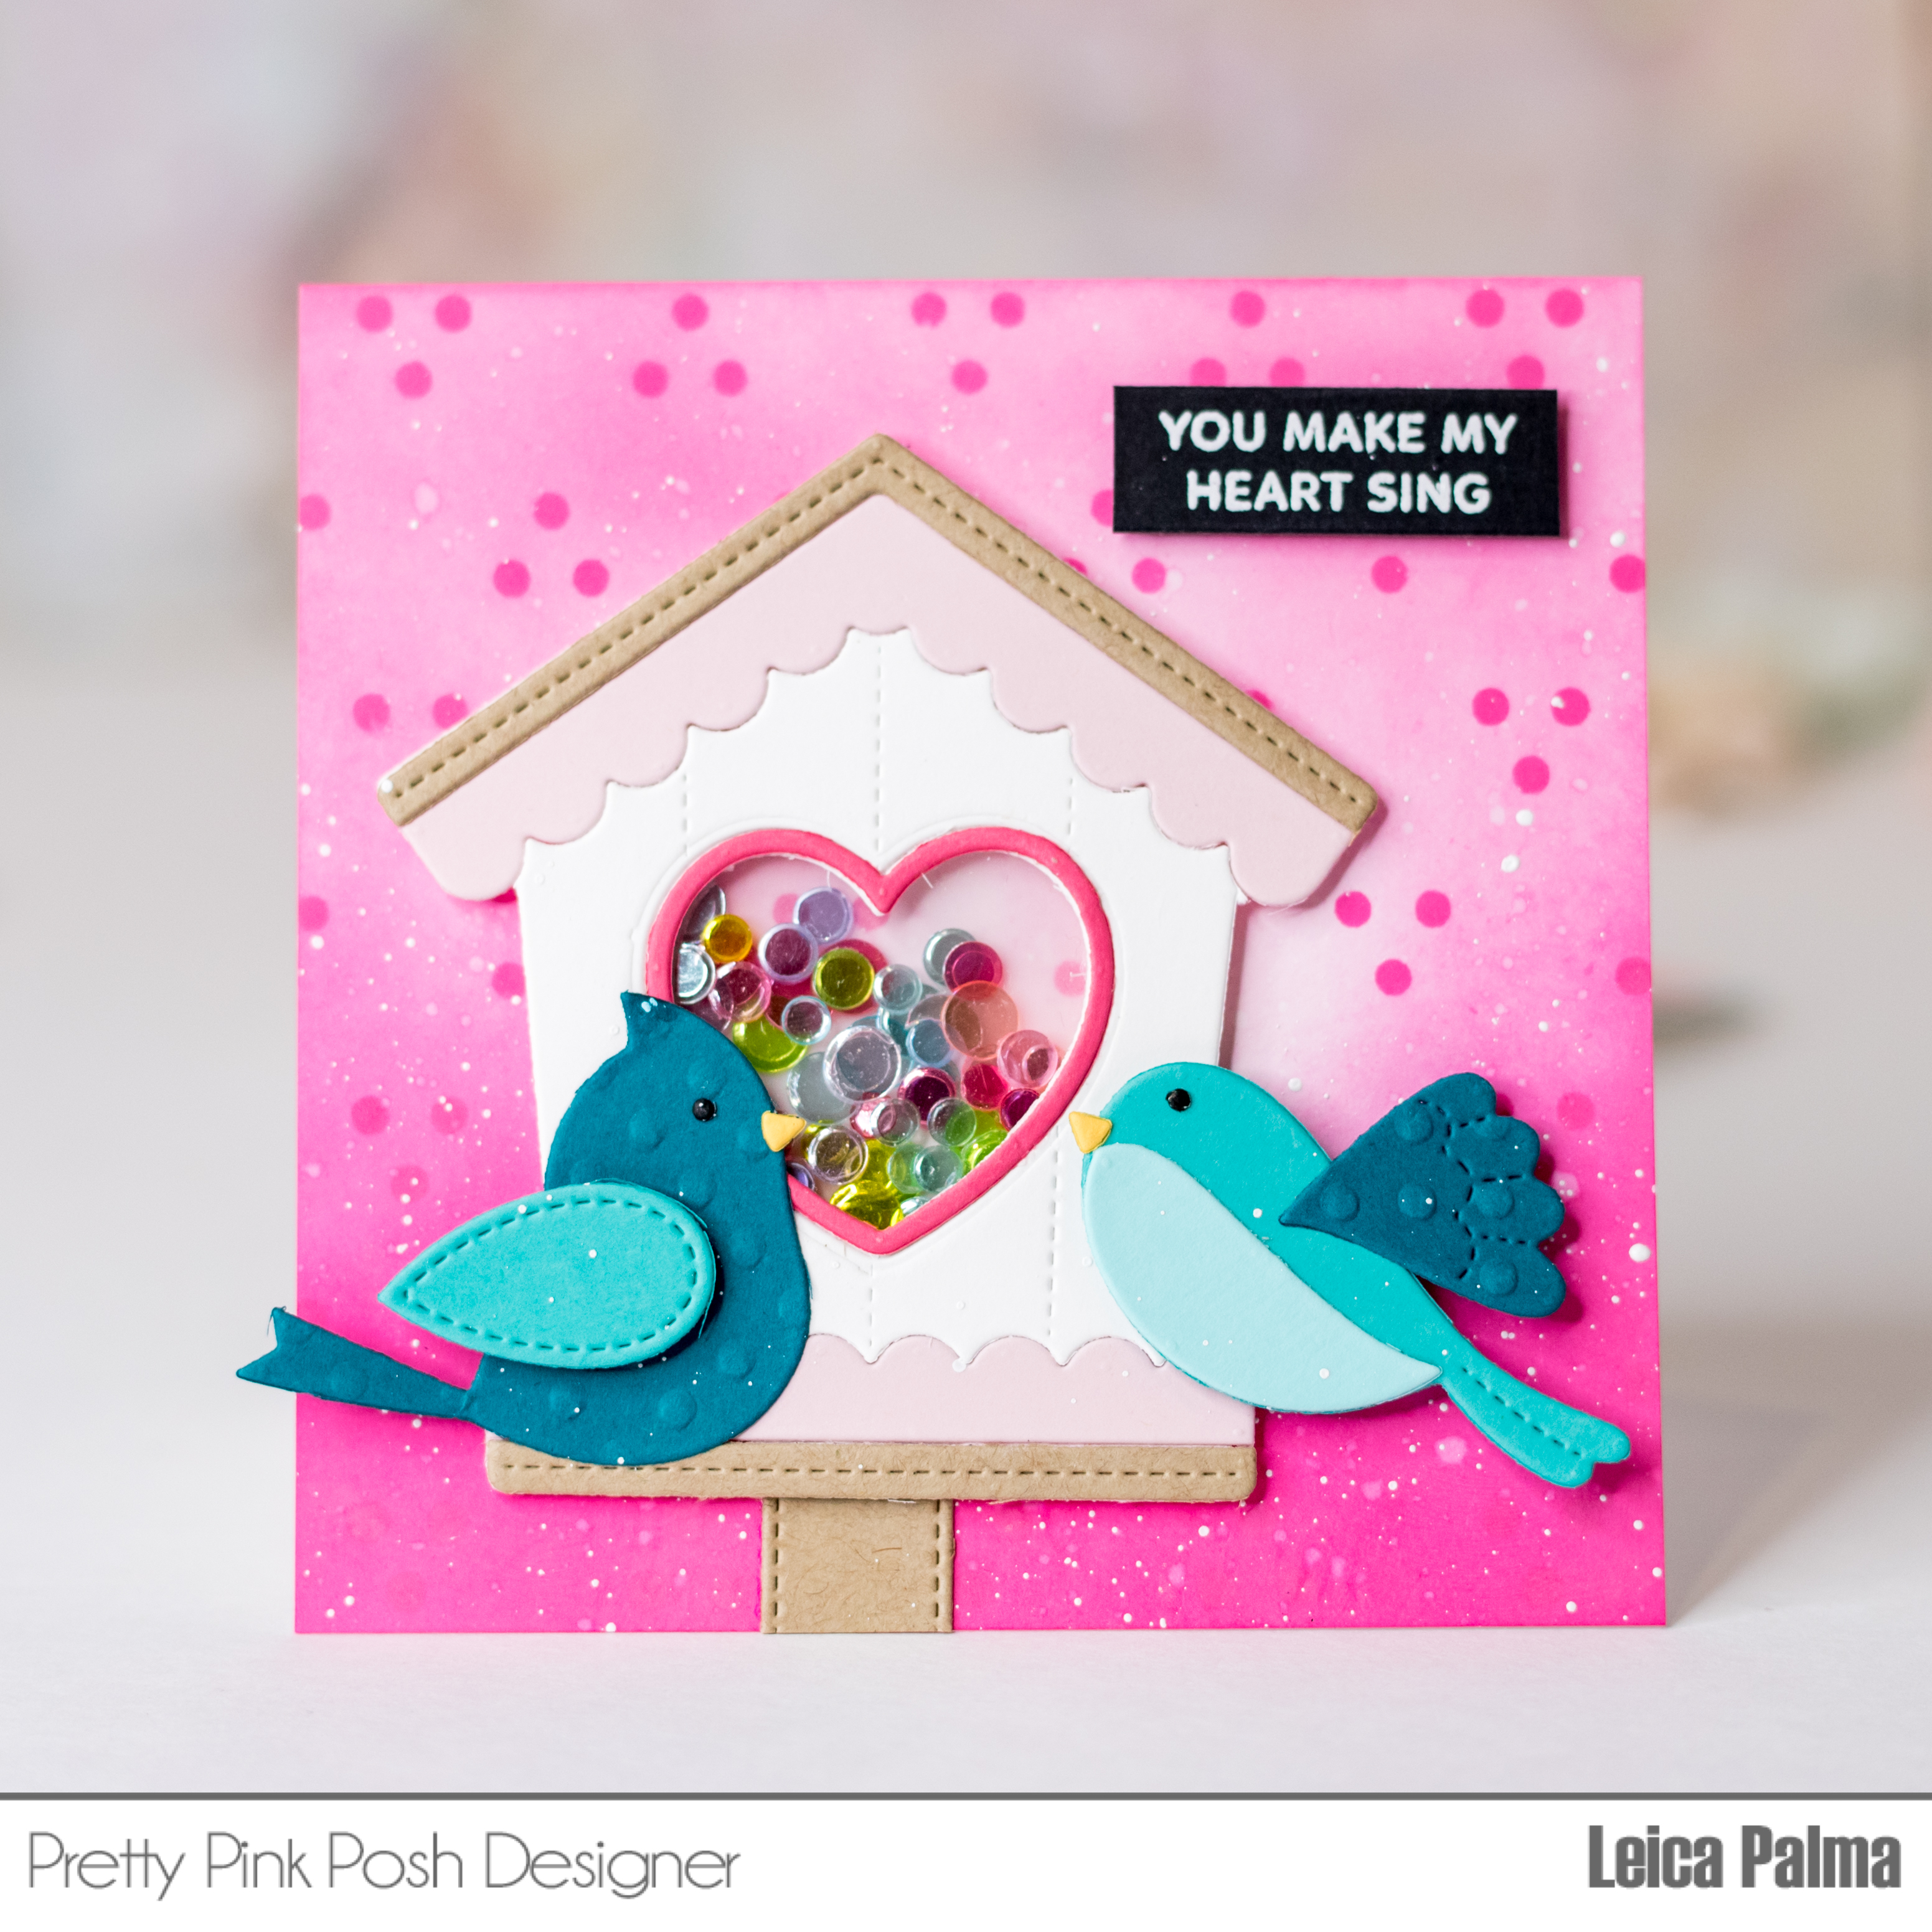
I'm so excited to share with you my latest handmade card creation using Pretty Pink Posh Decorative Birdhouses and Stitched Birds dies. It's such a fun and easy project to make, and I hope it inspires you to get creative and make your own beautiful cards.
I started with a 4.5 inch square card base in white cardstock, and to add some pattern, I used the Swiss Dots Stencil with Picked Raspberry Distress Oxide Ink. To save some paper and time, I inked directly on the card base while keeping it folded to prevent any ink or paint from getting onto the back of the card. I then added splatters of white ink for added interest.
Next, I cut out the birdhouse and stitched birds in various colors of cardstock and pieced them together. I love how these dies are so beautiful and versatile, and you can use different colors of cardstock to customize the birdhouse and birds. To make it even more fun, I turned the birdhouse into a shaker element by cutting a heart window in the center and using the Rainbow Shimmer to fill the shaker. I'm obsessed with the different colors of the shaker bits, and they add such a playful and whimsical touch to the card.
To make the birdhouse stand out, I foam mounted it onto the card base, and I also made a stand for the birdhouse by cutting a strip of kraft cardstock and gluing it onto the back of the birdhouse. This adds some dimension to the card and makes it look more like a three-dimensional birdhouse.
For the sentiment, I chose "You make my heart sing" from the Just A Note Stamp Set and white heat embossed it on a strip of black cardstock. I think it's such a sweet and fitting sentiment for this card, and it adds a personal touch to the project.
I hope this post has inspired you to get creative and make your own handmade cards. Happy crafting, friends!
Make sure to check out the rest of the Hop for more inspiration using the new products from Pretty Pink Posh! There are 3 $30 gift certificates up for grabs (one winner each day). Winners will be picked randomly along the blog hop. Comments must be left by 11:59 PM PST on 05/08/2023. Winners will be announced on the PPP blog.


PRECIOUS shaker! I LOVE the bird and birdhouse!!!!!!!!!!!!!
ReplyDeleteSo clever to add a shaker element. Love it!
ReplyDeleteLove the pretty in pink shaker card, a fabulous background too, those little birdies are so 'tweet'!!
ReplyDeleteLove the blended and stenciled background; and those birdies..well, they're precious!
ReplyDeleteThose birdhouse dies are perfect for making shaker cards! Great design!
ReplyDeleteWhat a cute couple. I love the blue birds...and their love nest (bird house)--adorable
ReplyDeleteAdorable shaker card! I love the ombre background with the swiss dots, and the birds and birdhouse are so pretty!
ReplyDeleteAdorable shaker. So super cute!
ReplyDeleteSo cute! Great idea to make it a shaker!
ReplyDeleteLove that background. The shaker
ReplyDeleteis a fun idea. Wonderful card.
thanks for sharing.
So lovely!!!
ReplyDeleteWhat wonderful color! Bright and beautiful. Lovely job...
ReplyDeleteSo sweet! Love the background and the shaker!
ReplyDeleteLove your color choices.
ReplyDeleteLove the colors on this pretty shaker.
ReplyDeleteI love the card!
ReplyDeleteAdorable card!
ReplyDeleteSQUEAL!! I ADORE this!! Shaker Cards are my FAVORITE!! THANKS for sharing and have a FABULOUS WEEK!!
ReplyDeleteI love your shaker card!!! SO beautiful!!
ReplyDeleteOh, what a sweet shaker bird house!! And, the pink background is gorgeous!!
ReplyDeleteIt almost looks like your card is made with felt! Great to make a shaker with it! Darling!
ReplyDeleteThis is a Valentine!
ReplyDeleteI like the shaker element!
ReplyDelete